
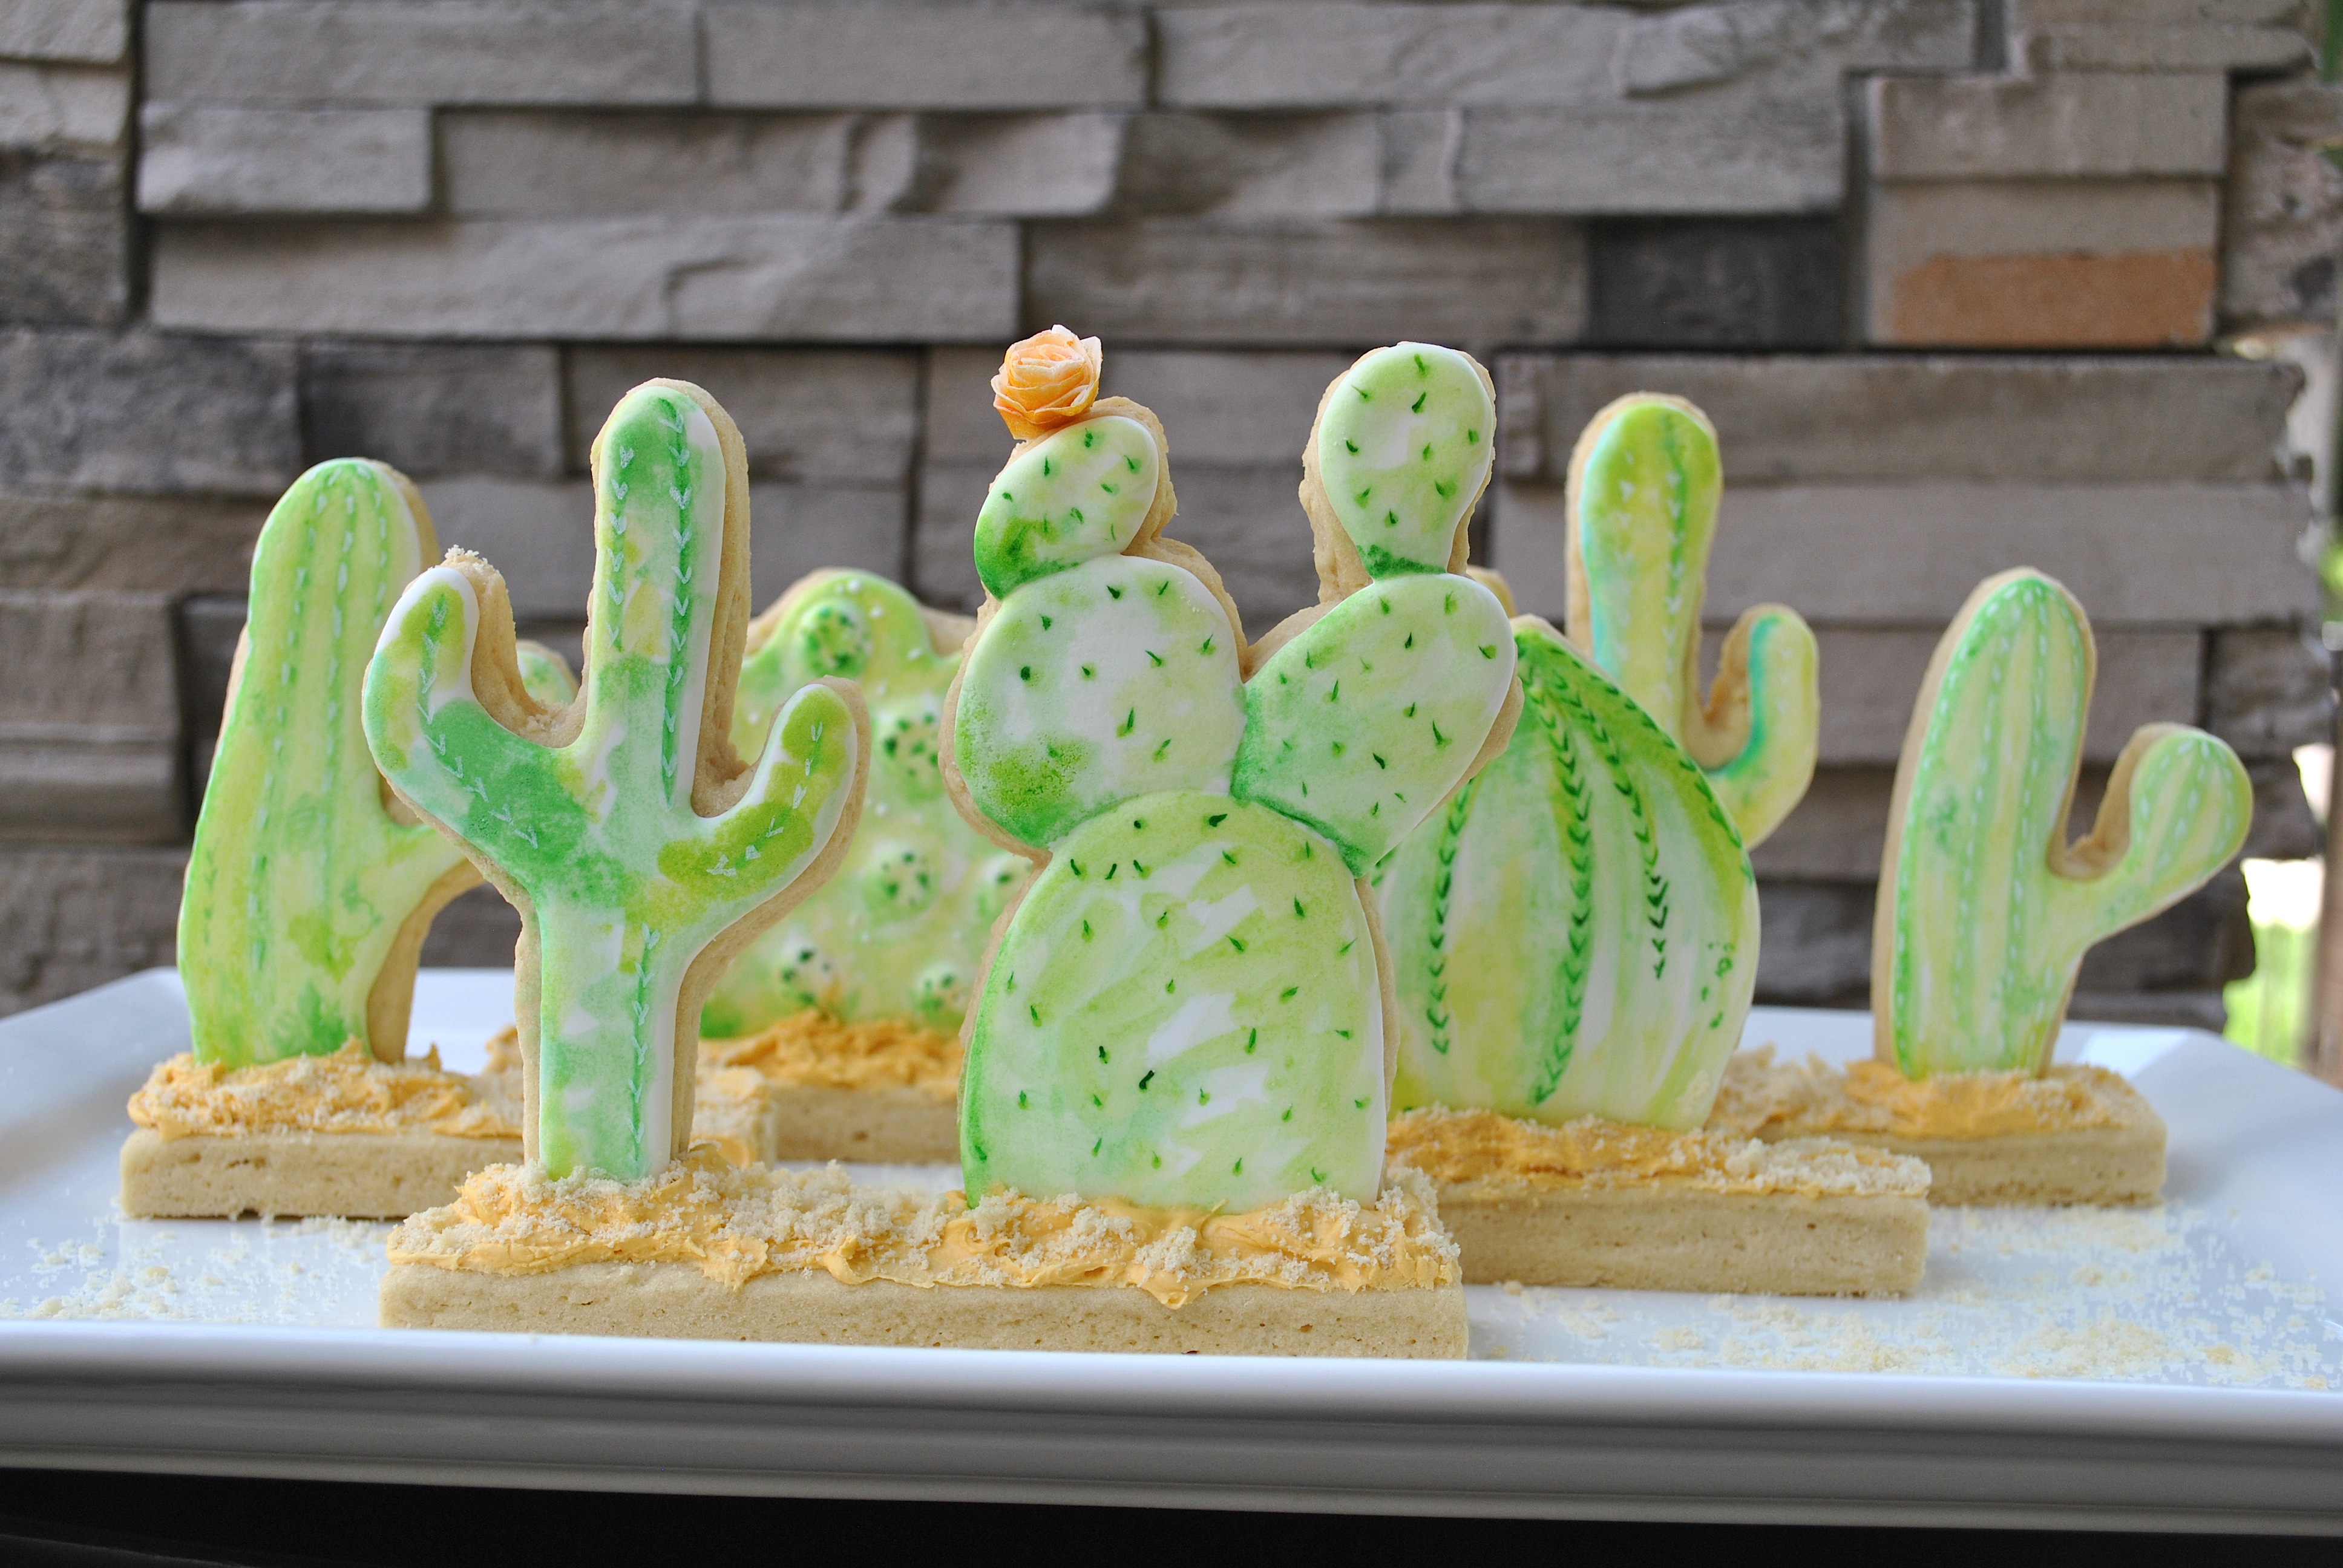
Oh succulent. Adjective v. noun. Dessert v. desert…. A prickly topic to be sure. Hopefully you think it is a win-win!
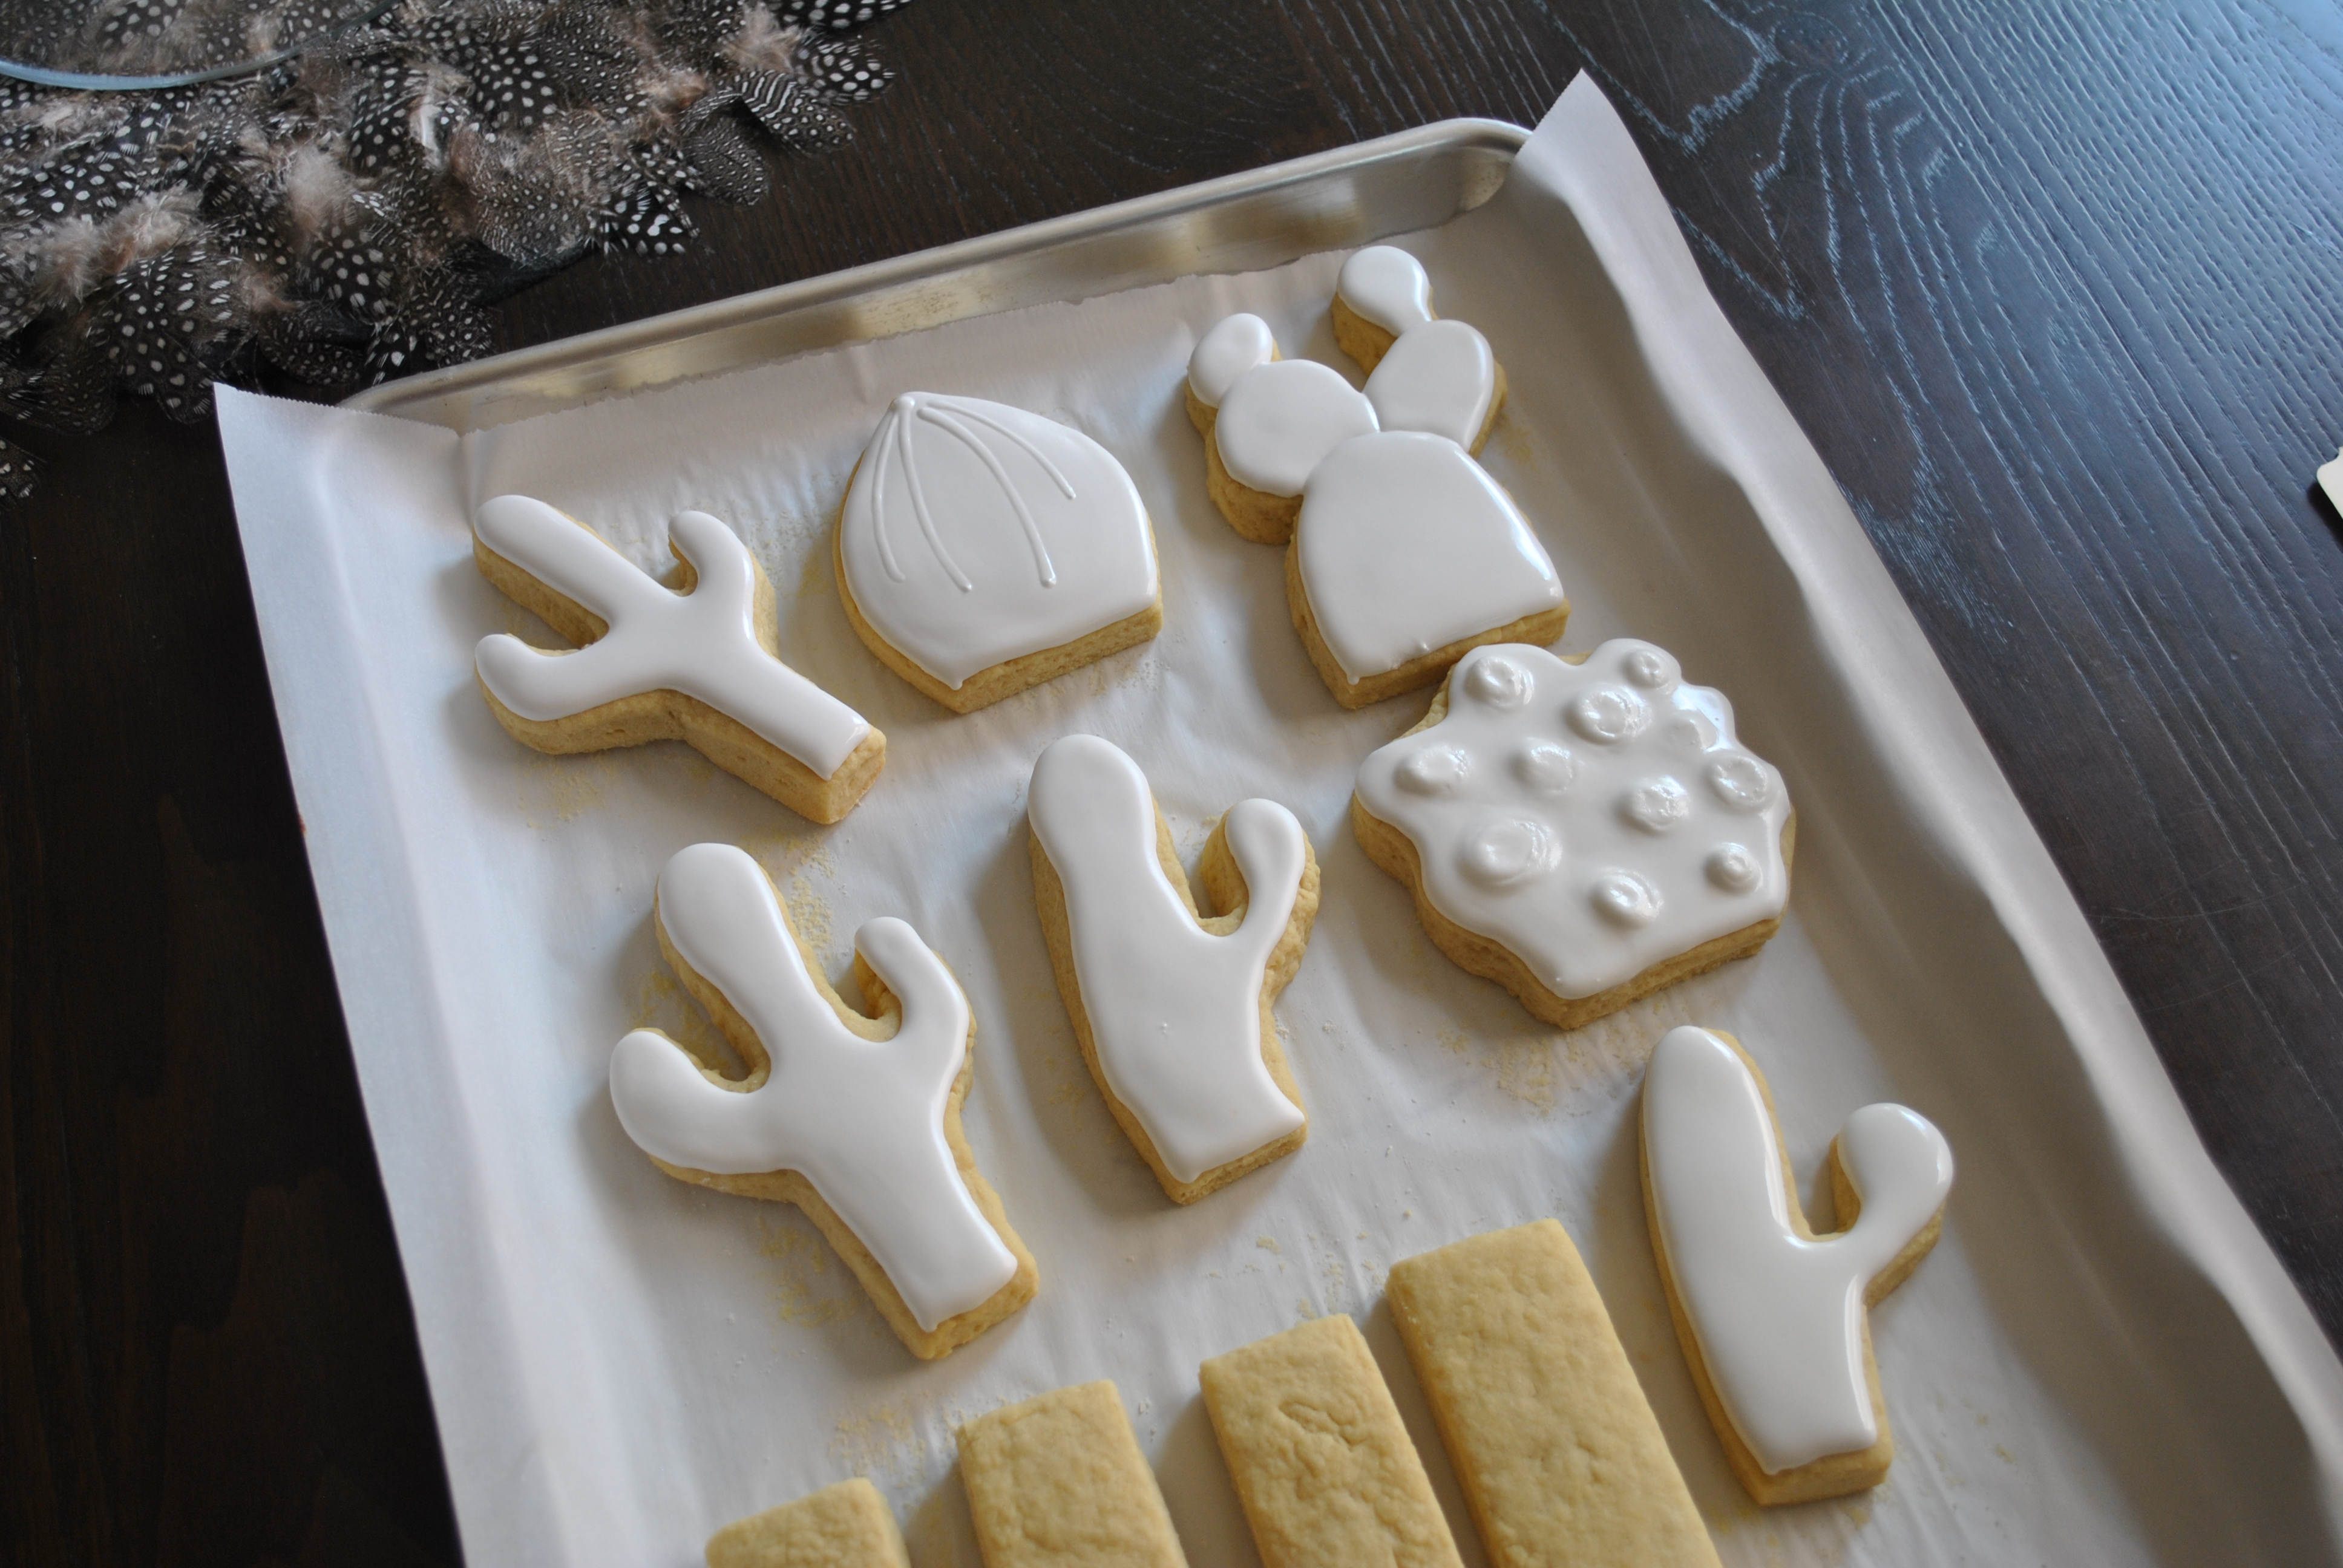
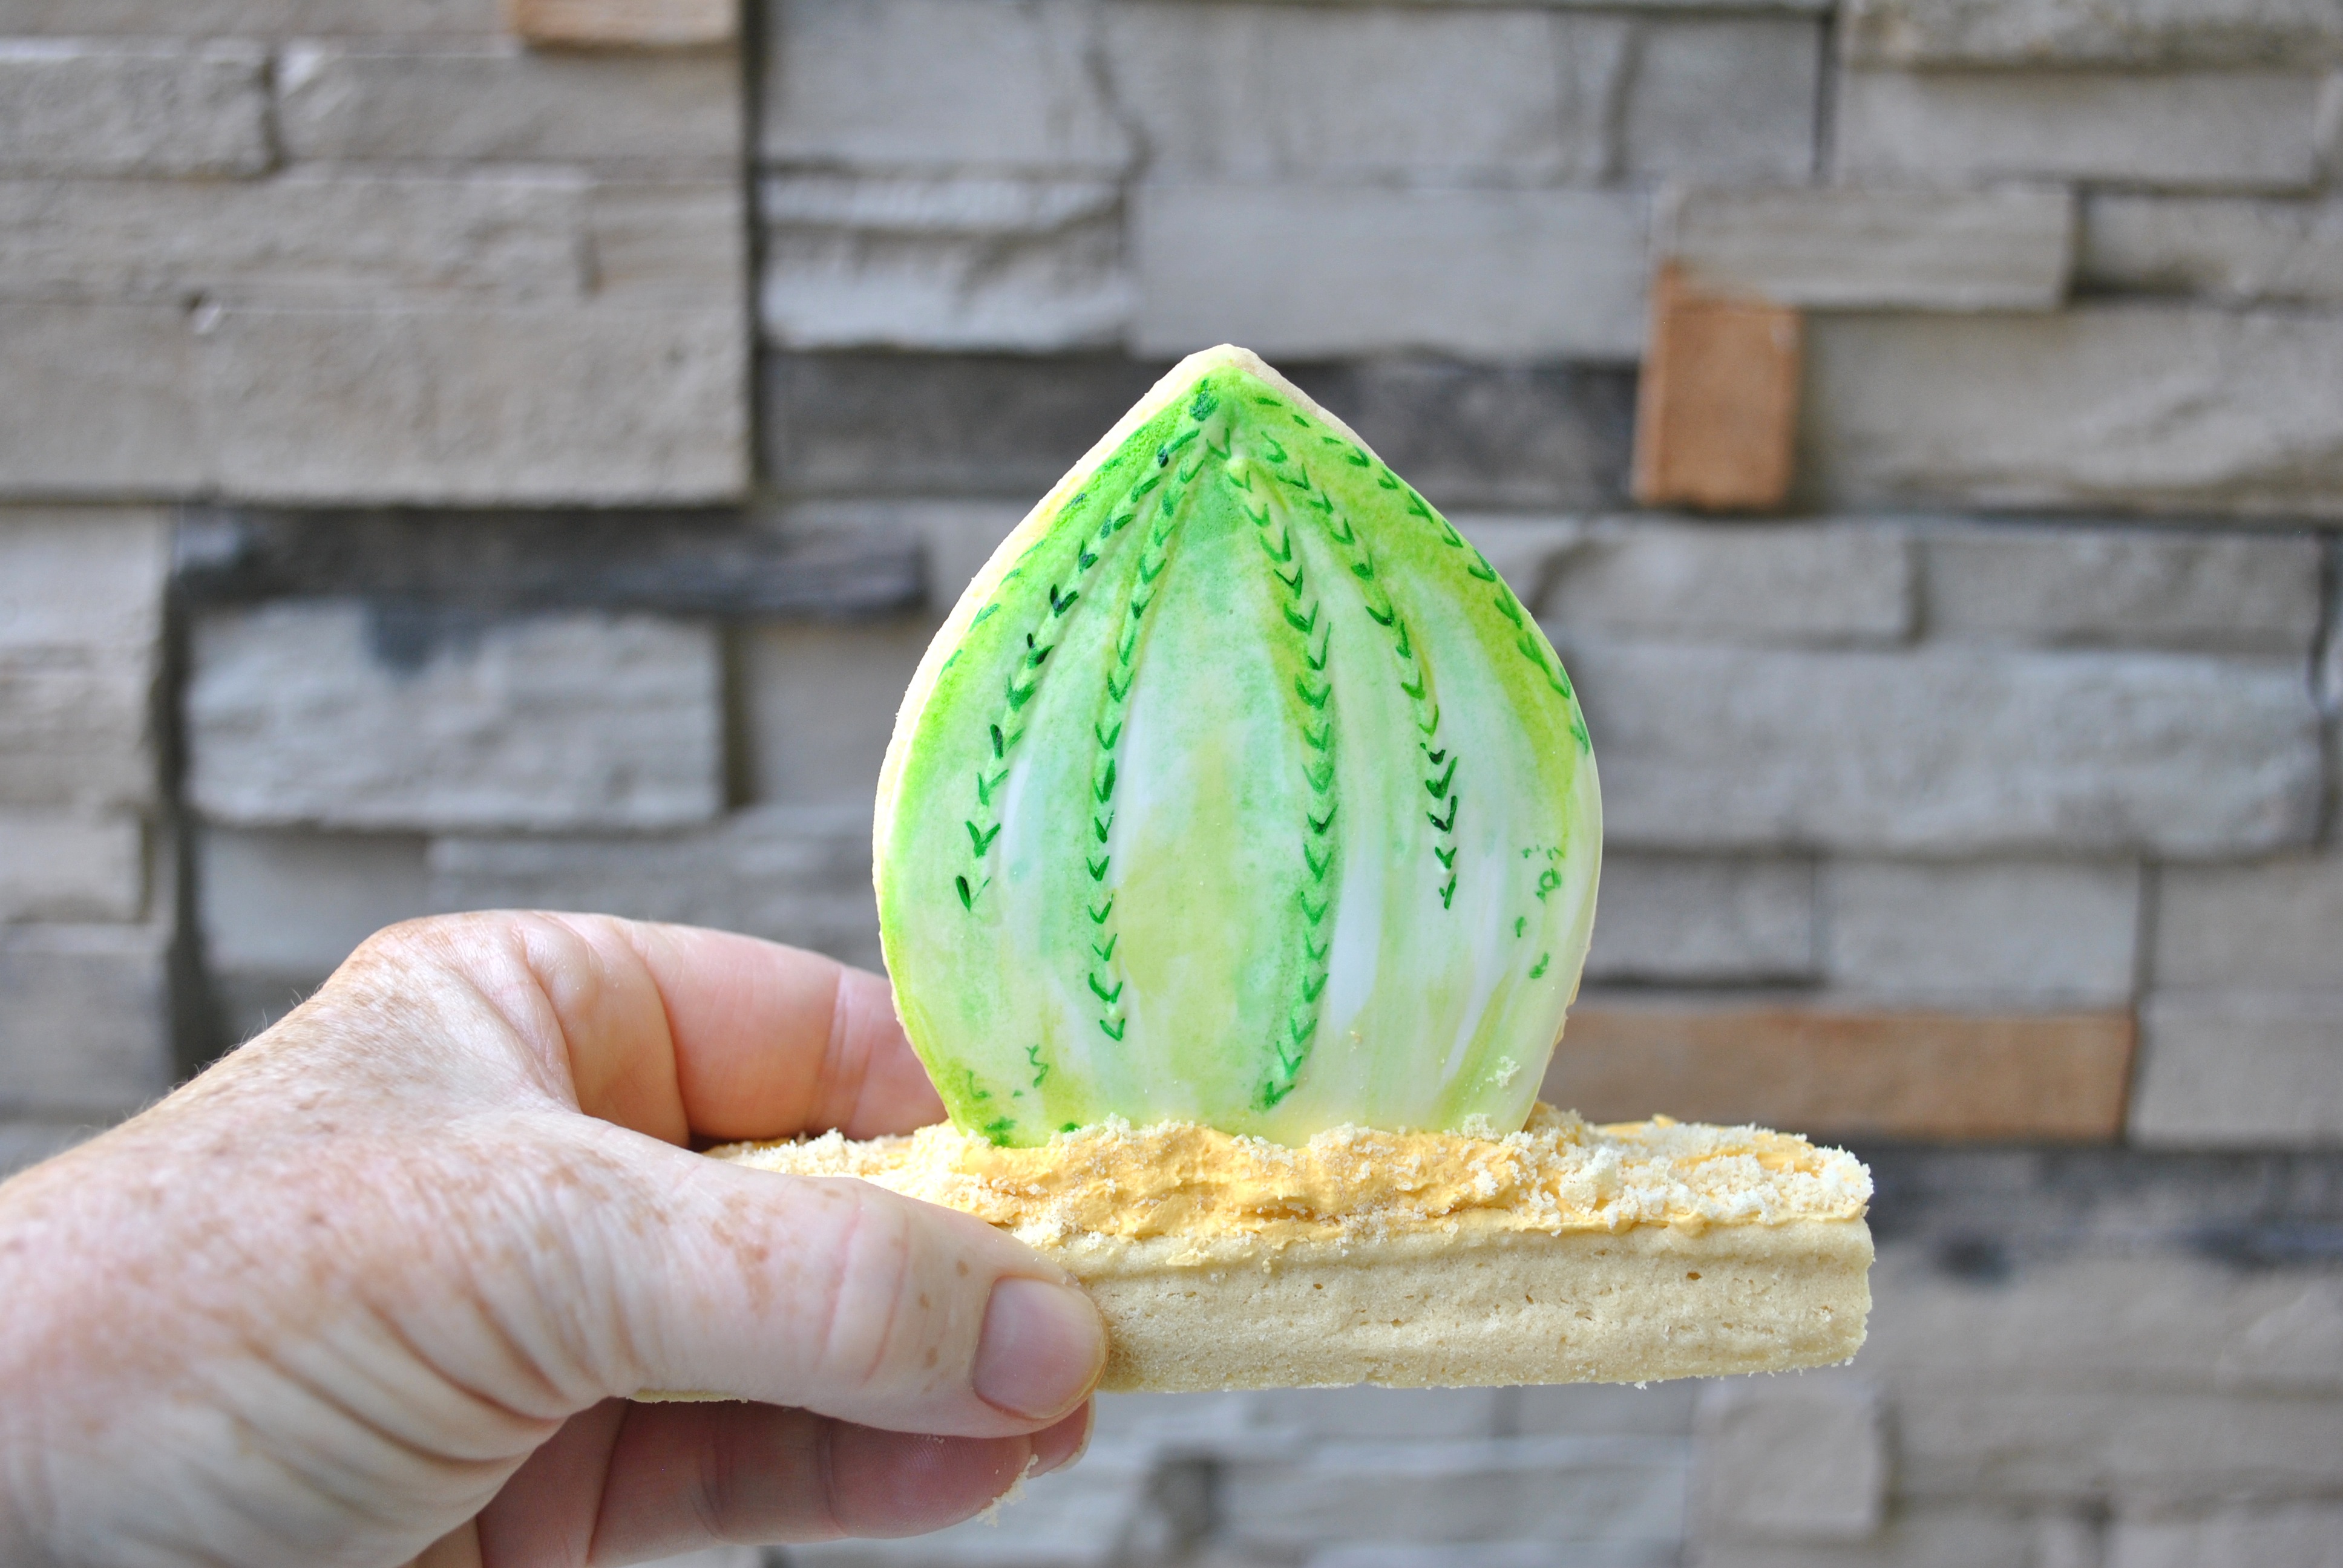
These cookies started out with a basic white coating, including some dimension. The shapes were hand drawn on to card stock and then cut out of dough by tracing those shapes with a knife.
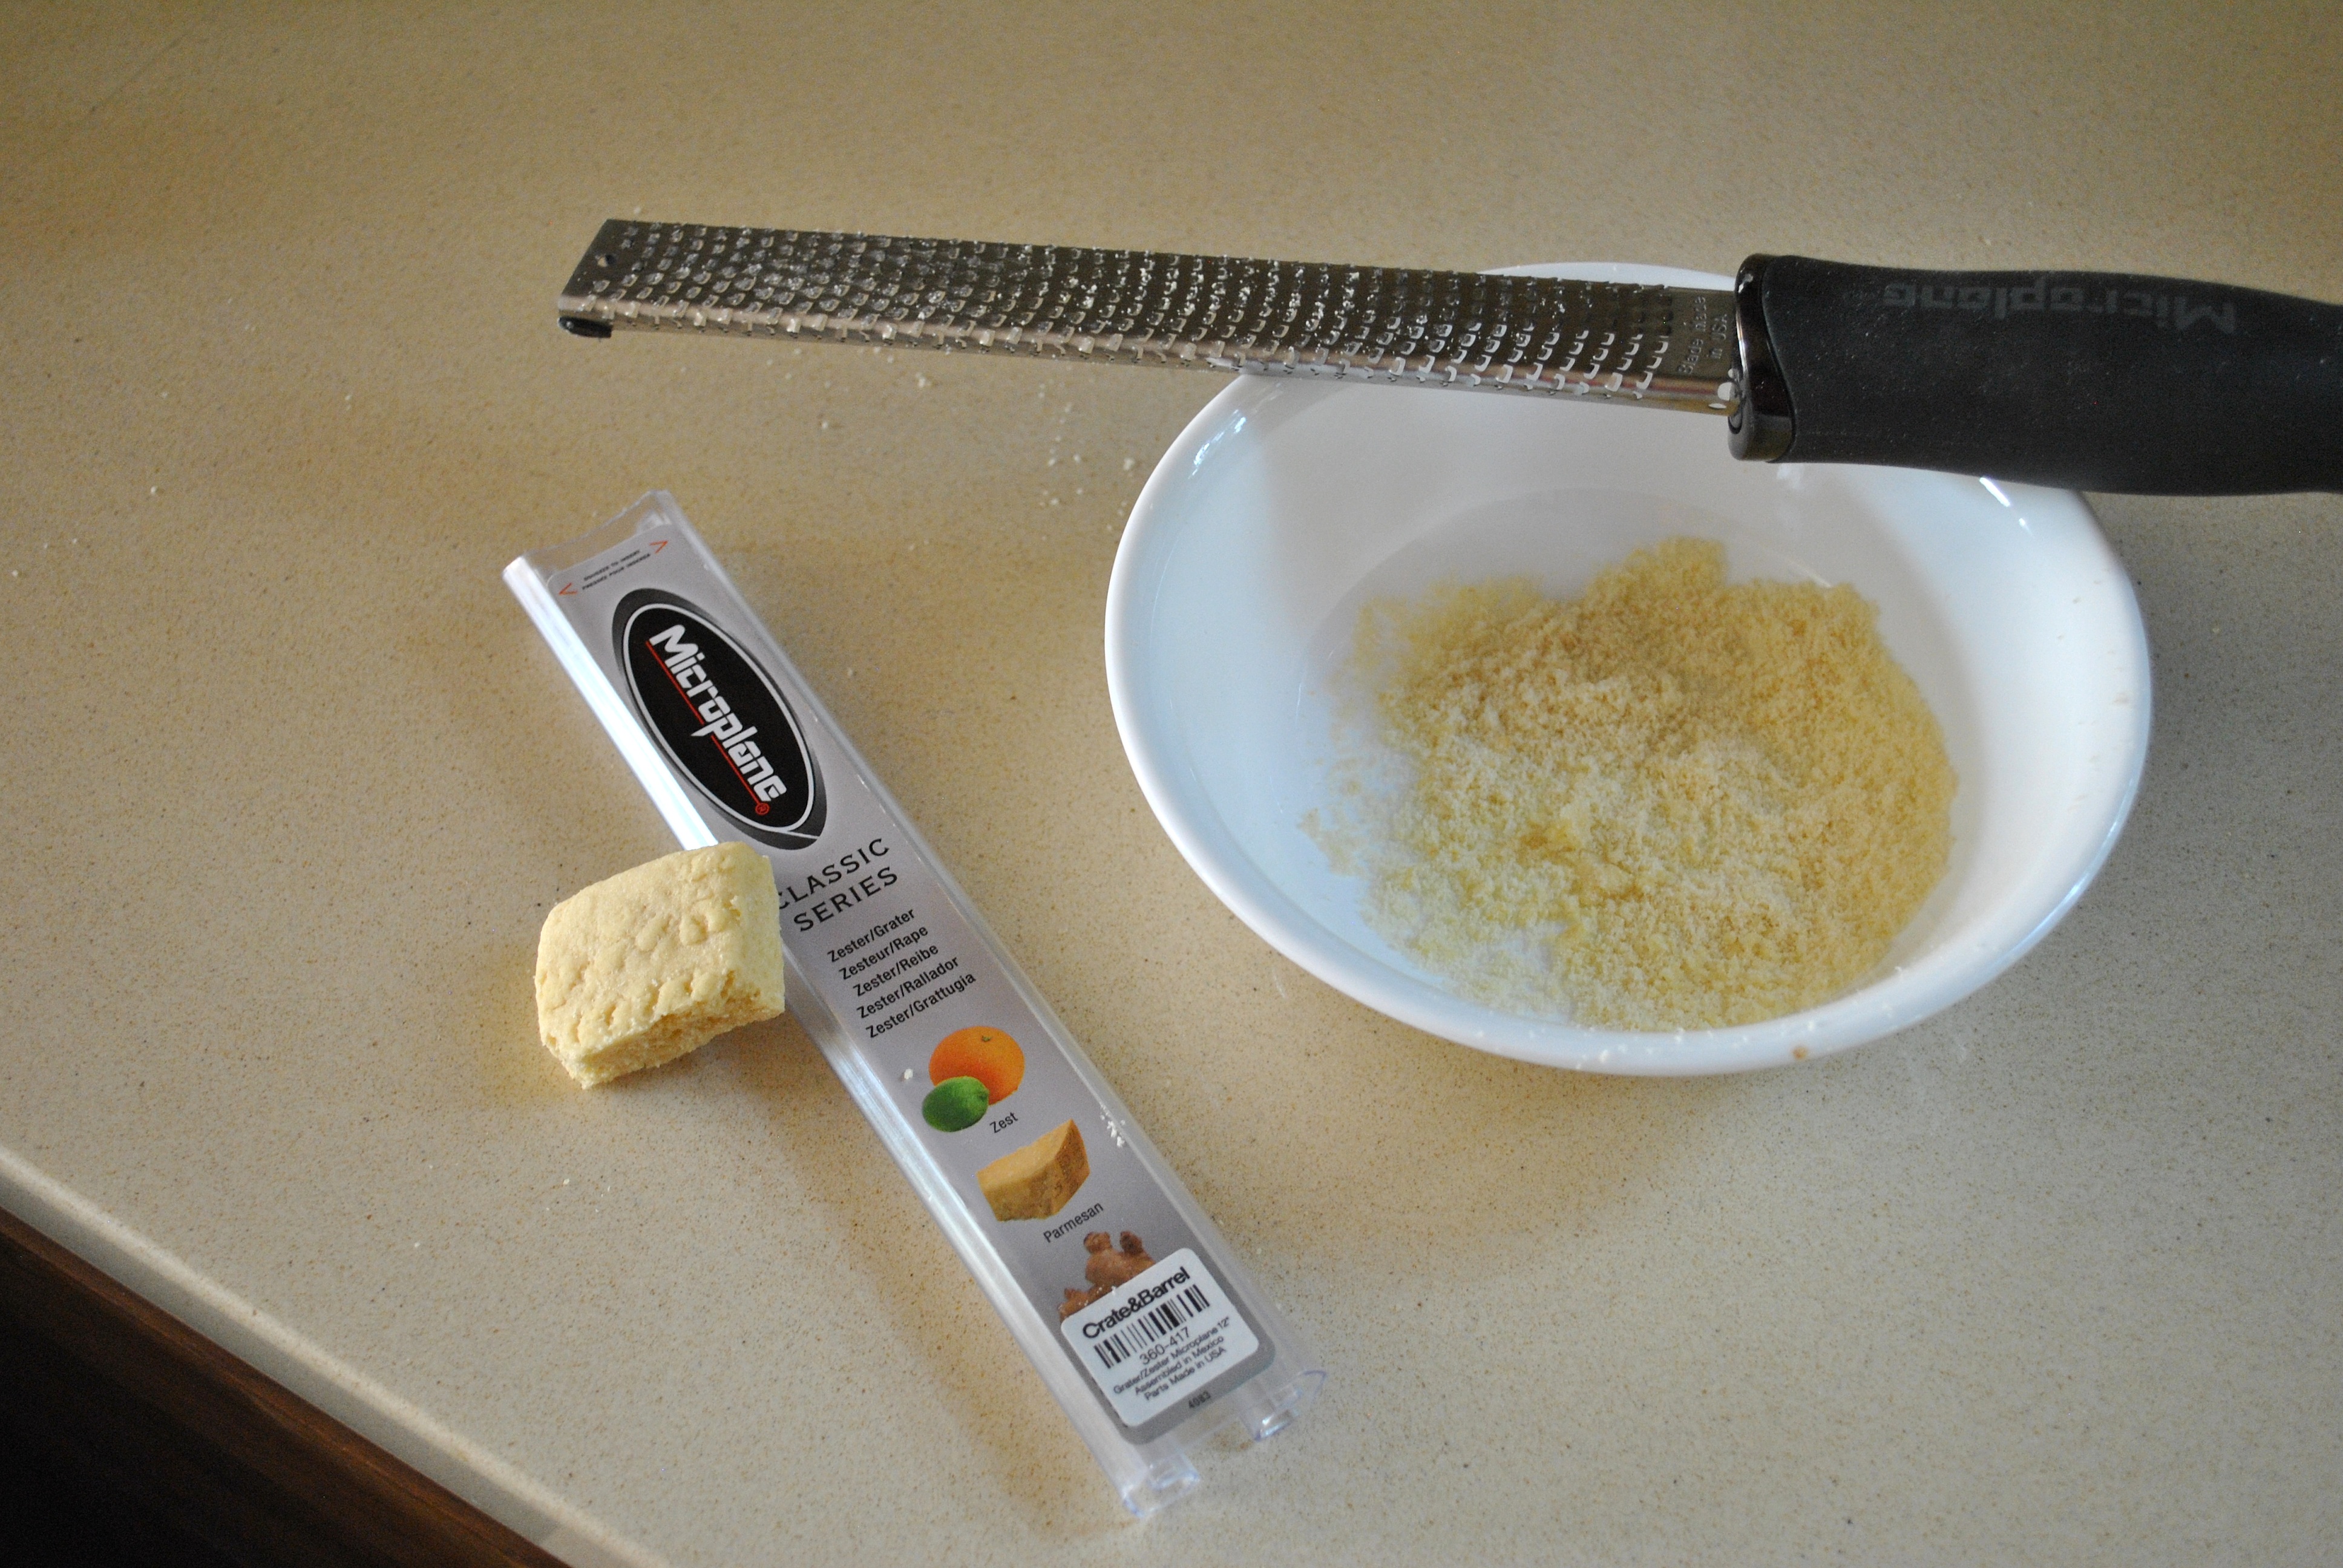
To get the sandy effect, I used a microplane/zester to gently trim up the sides (or spare cookie scraps); these trimmings were later sprinkled over the still wet icing of the base cookie. Thank you Rebecca Weld aka TheCookieArchitect for this “fitting” tip. I ‘zested’ each cactus until perfectly flat on the bottom, so they could stand without the aid of icing/support on the base cookie.
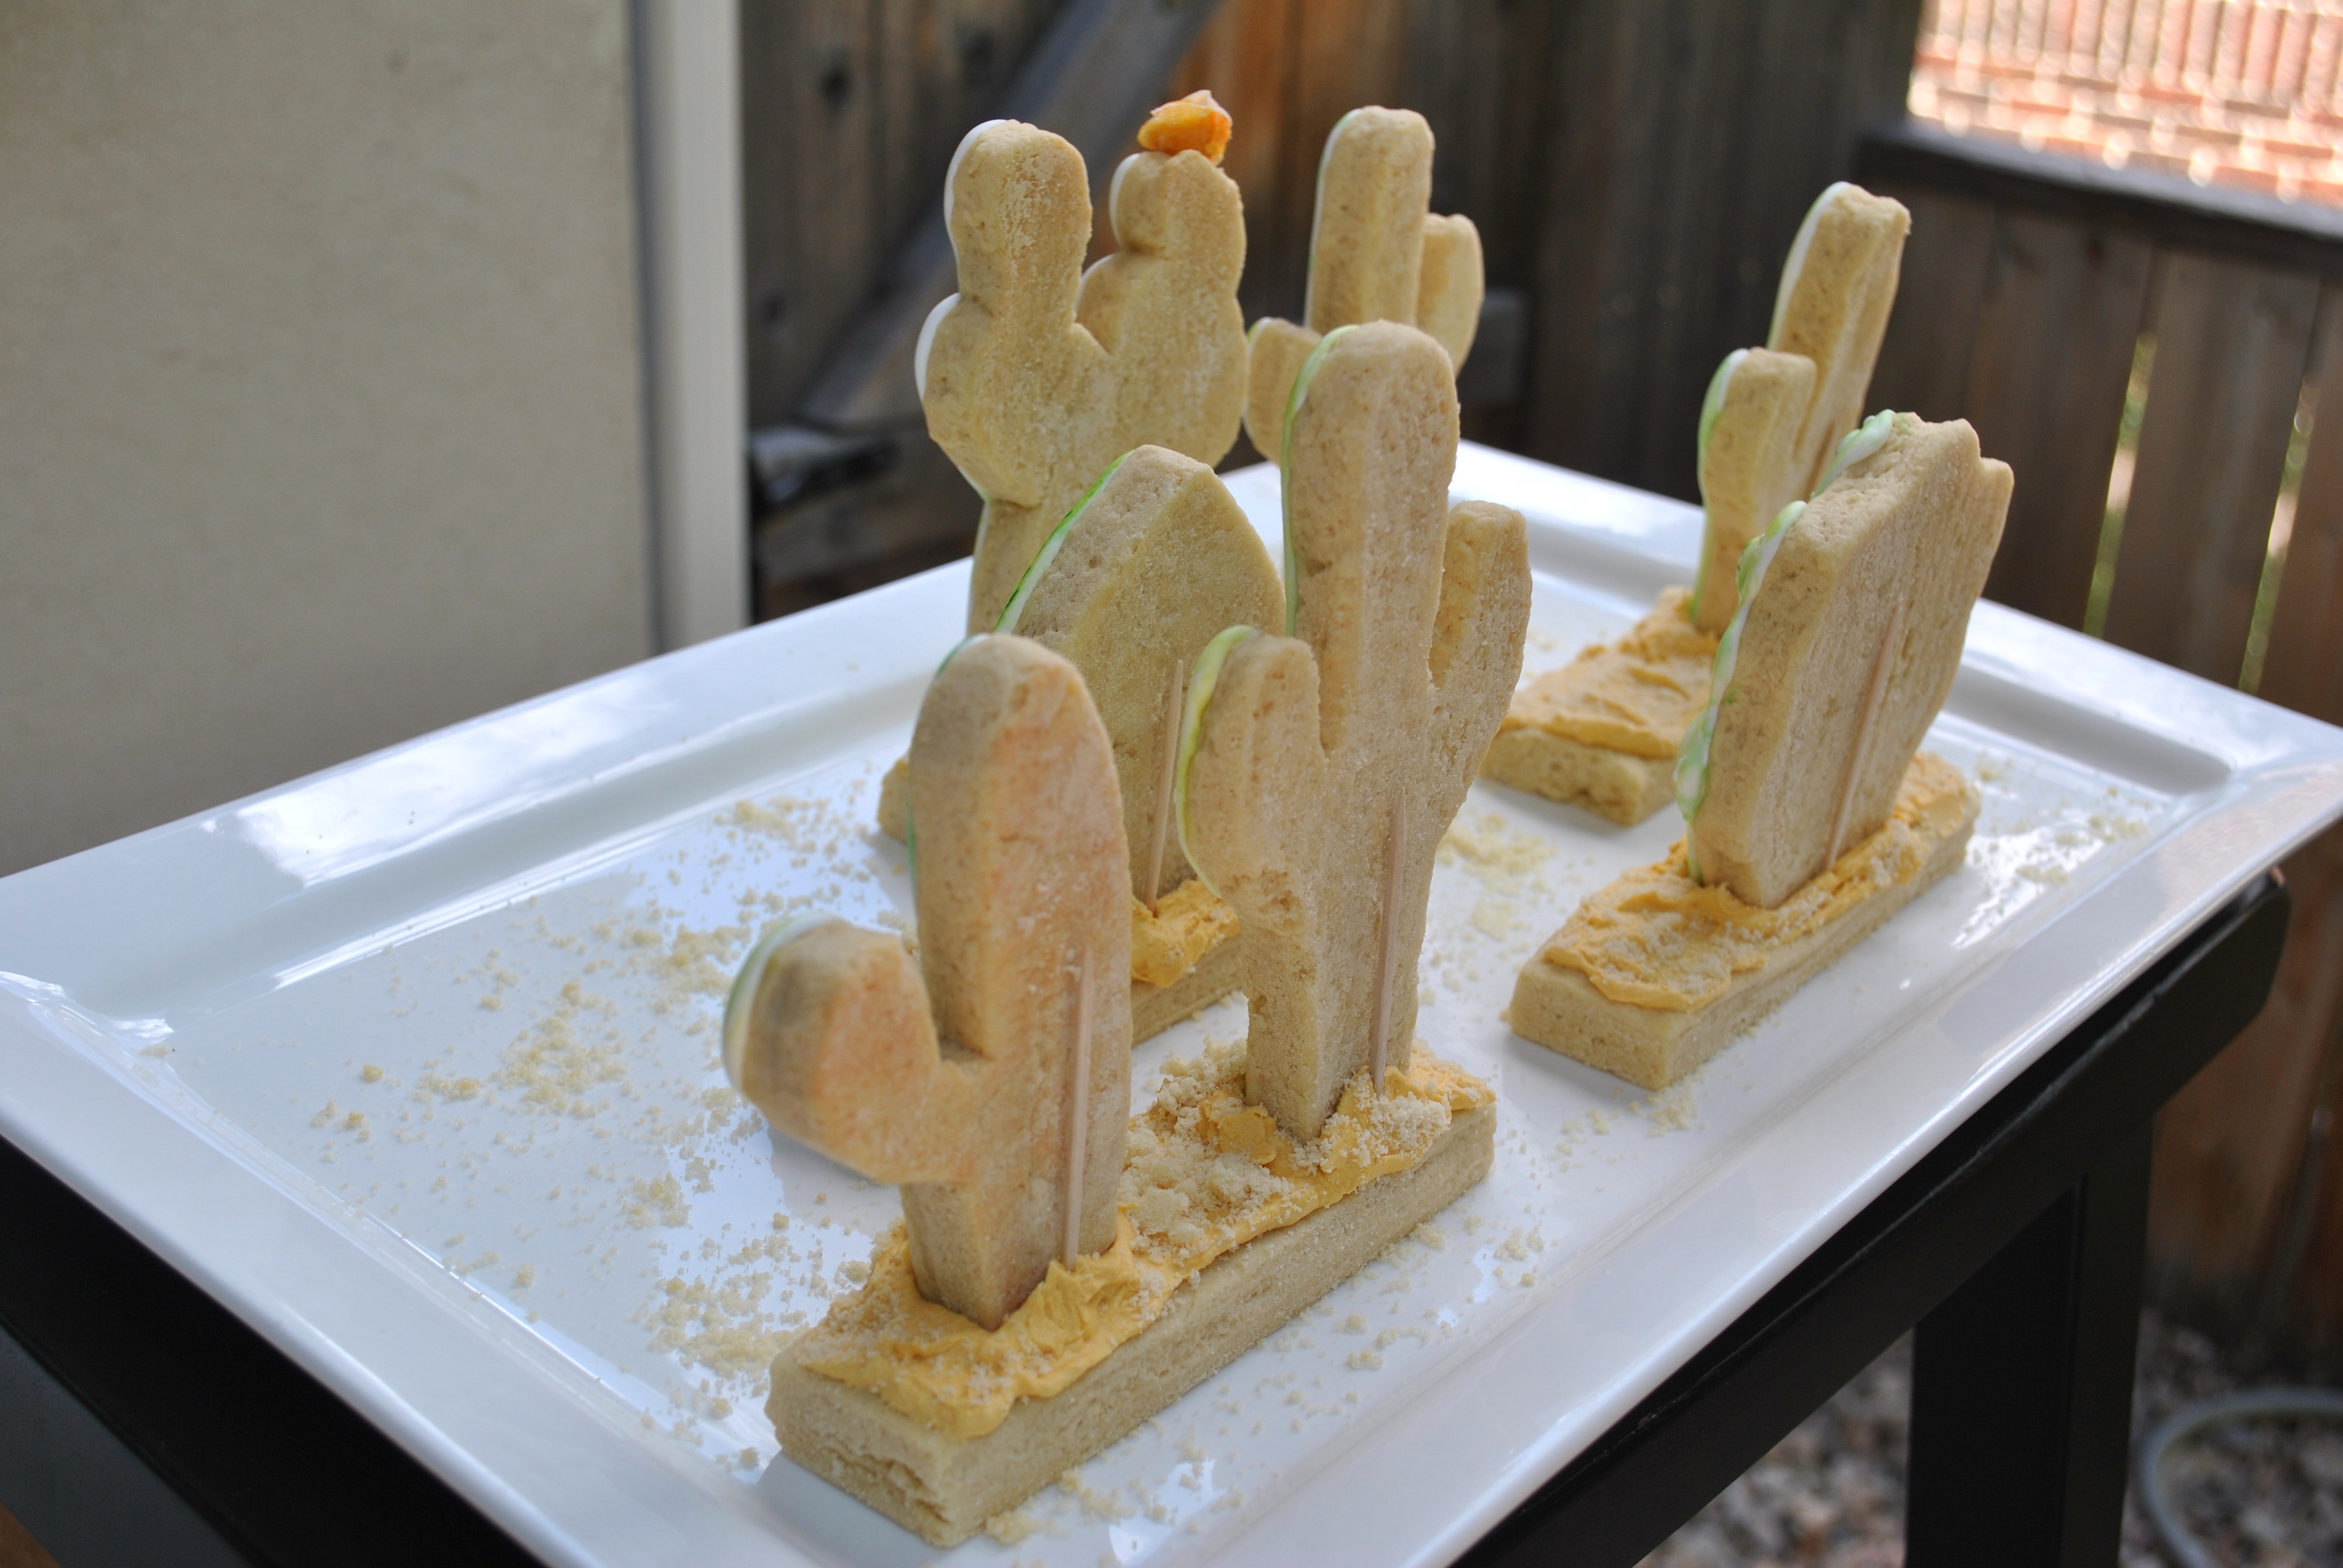
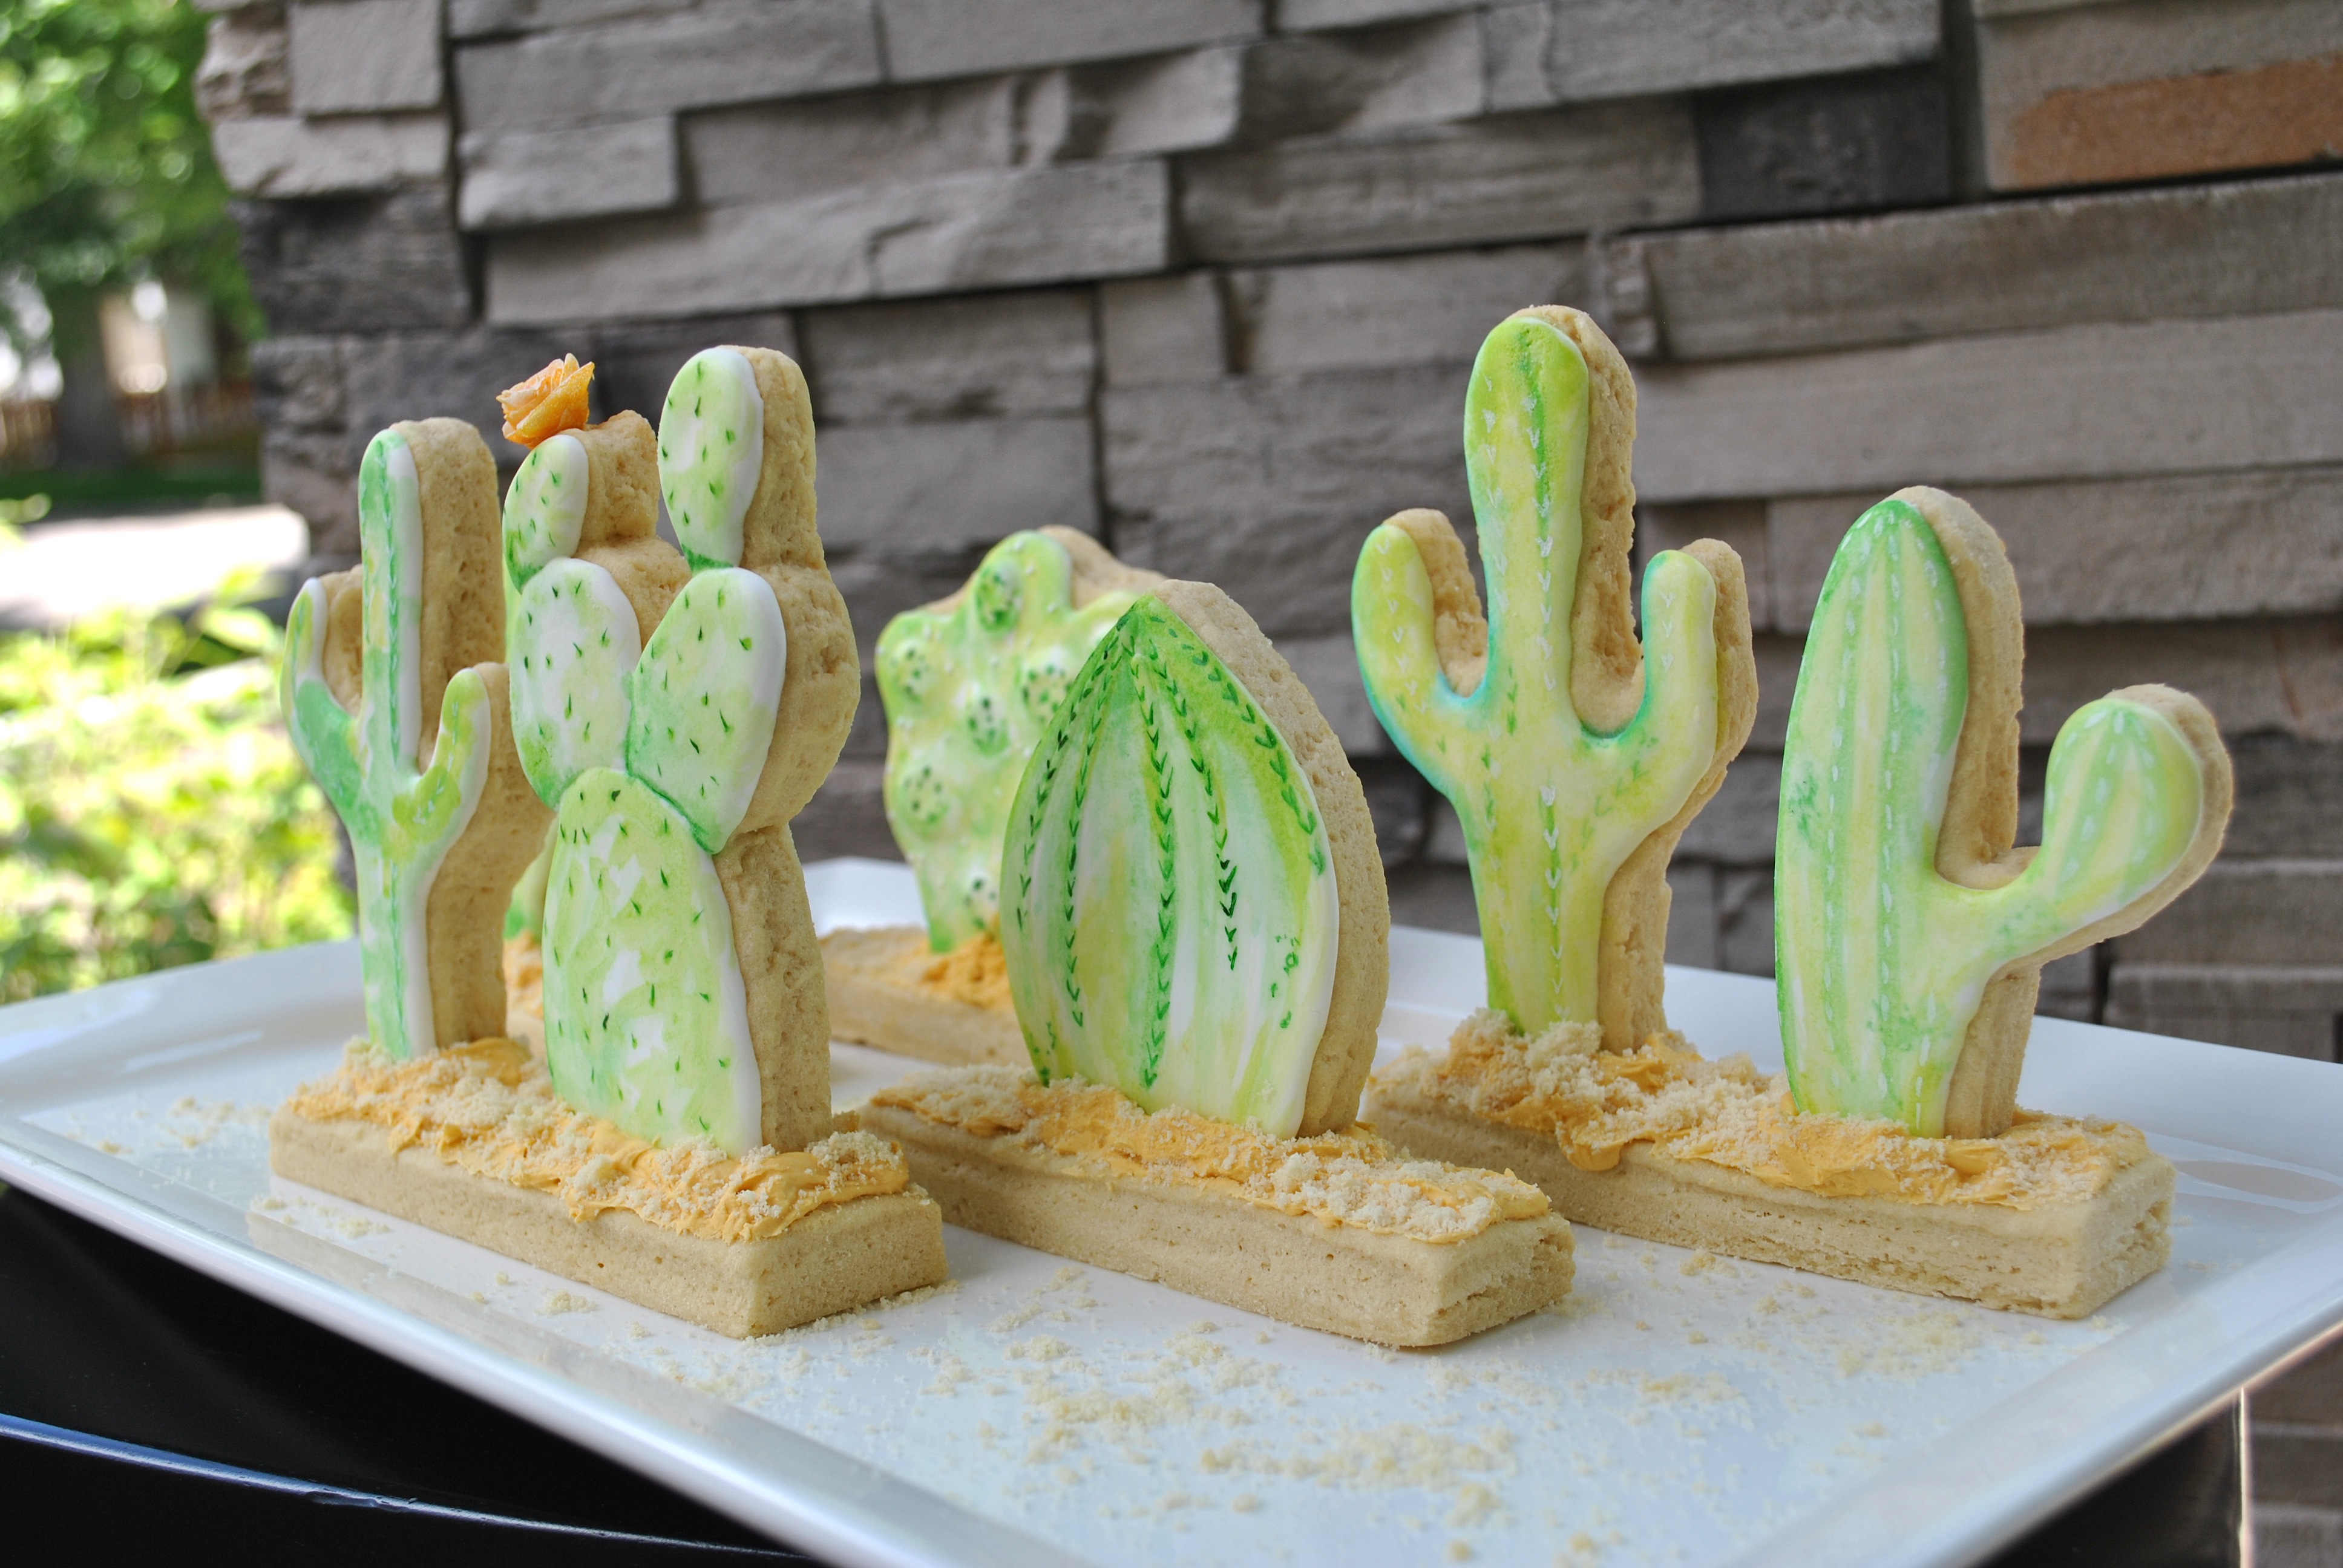
After the cacti were painted and dried, I used stiff royal icing (colored with ivory and a dash of egg yellow) and a butter knife to coat the long base cookie. The cactus were quickly set in place and sprinkled with the “sand.”


I did place toothpicks behind the cactus for support (but they stood on their own without). I had to transport them upright and I didn’t know if I needed that assurance…
The Cactus flower is also edible. I painted some edible wafer paper yellow, let that dry, & then cut a continuous inward circle (tons of how-tos on the web). Little dabs of water made the edges stick together as I wound it into a flower.


These are really creative and colorful! What made you come up with the idea?
Thank you for your kind words, Beth! We recently went hiking along the Flat Irons (rock formation) near Boulder, CO and saw some cactus blooming near the base. Made me think of the saguaro cacti we saw when hiking in AZ (Tuscon and Phoenix area). This was my “interpretation” of the desert dessert (when hiking you have a lot of time to think of random word play 😉 ).