Stick It.

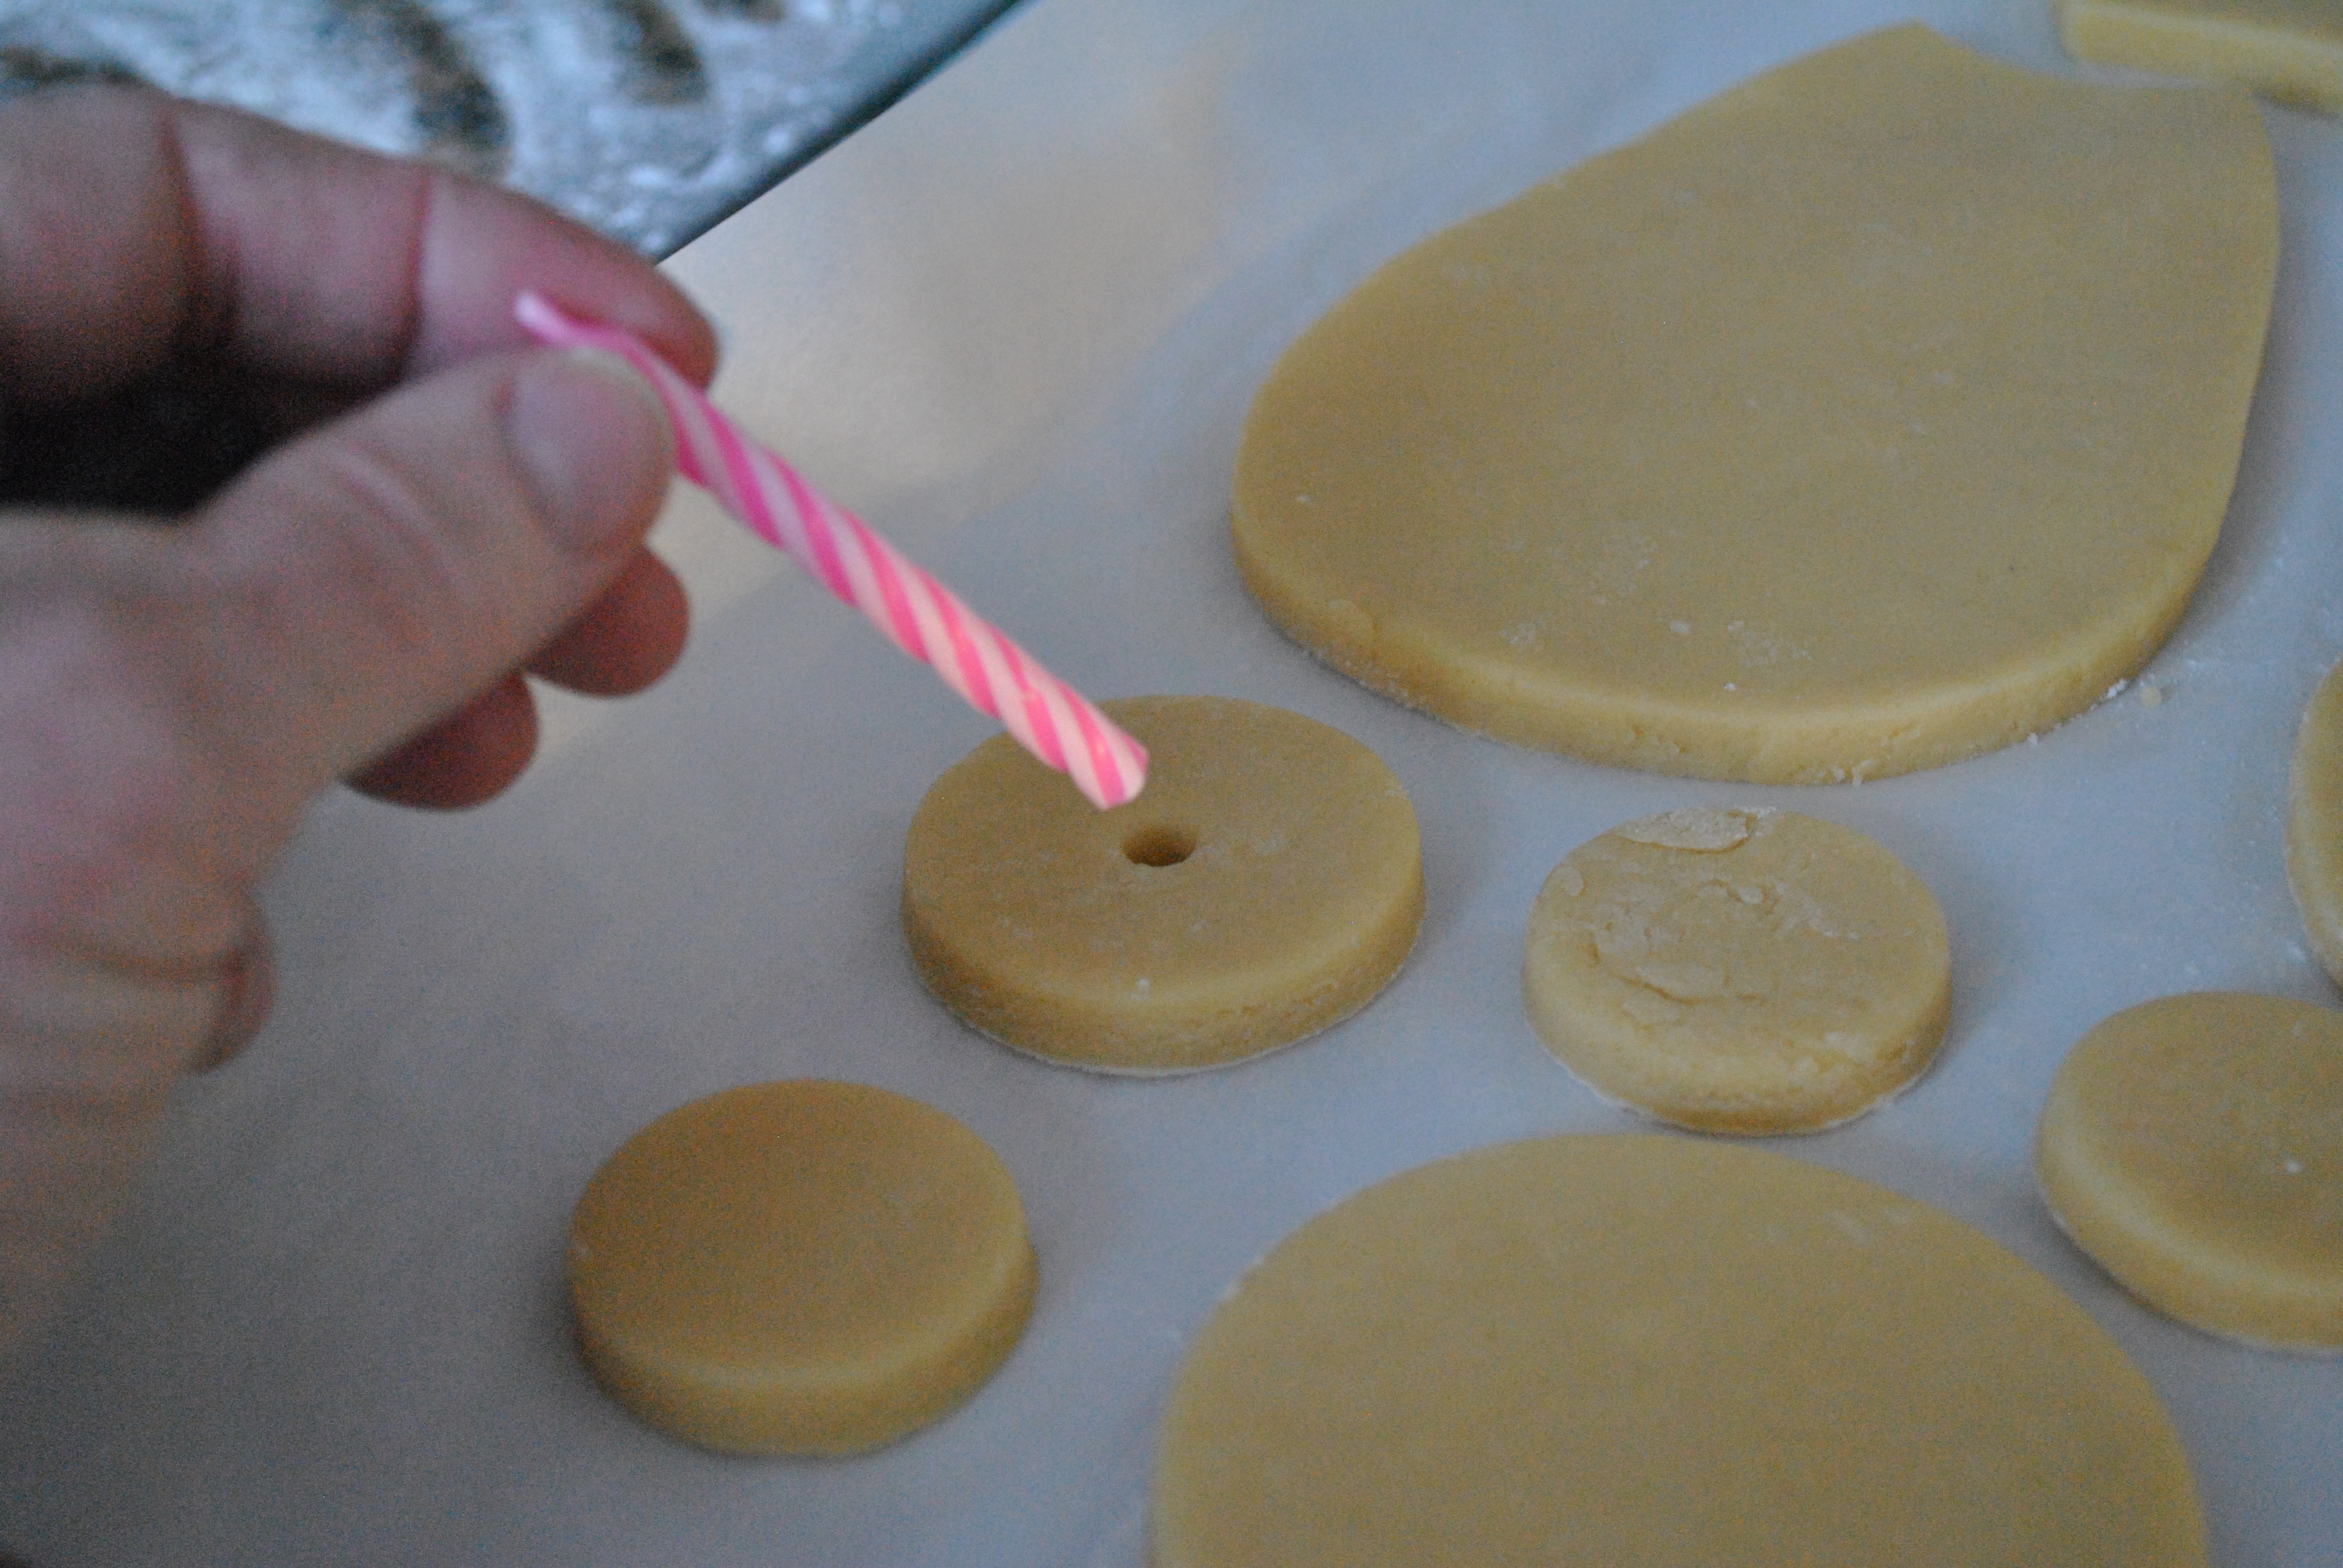
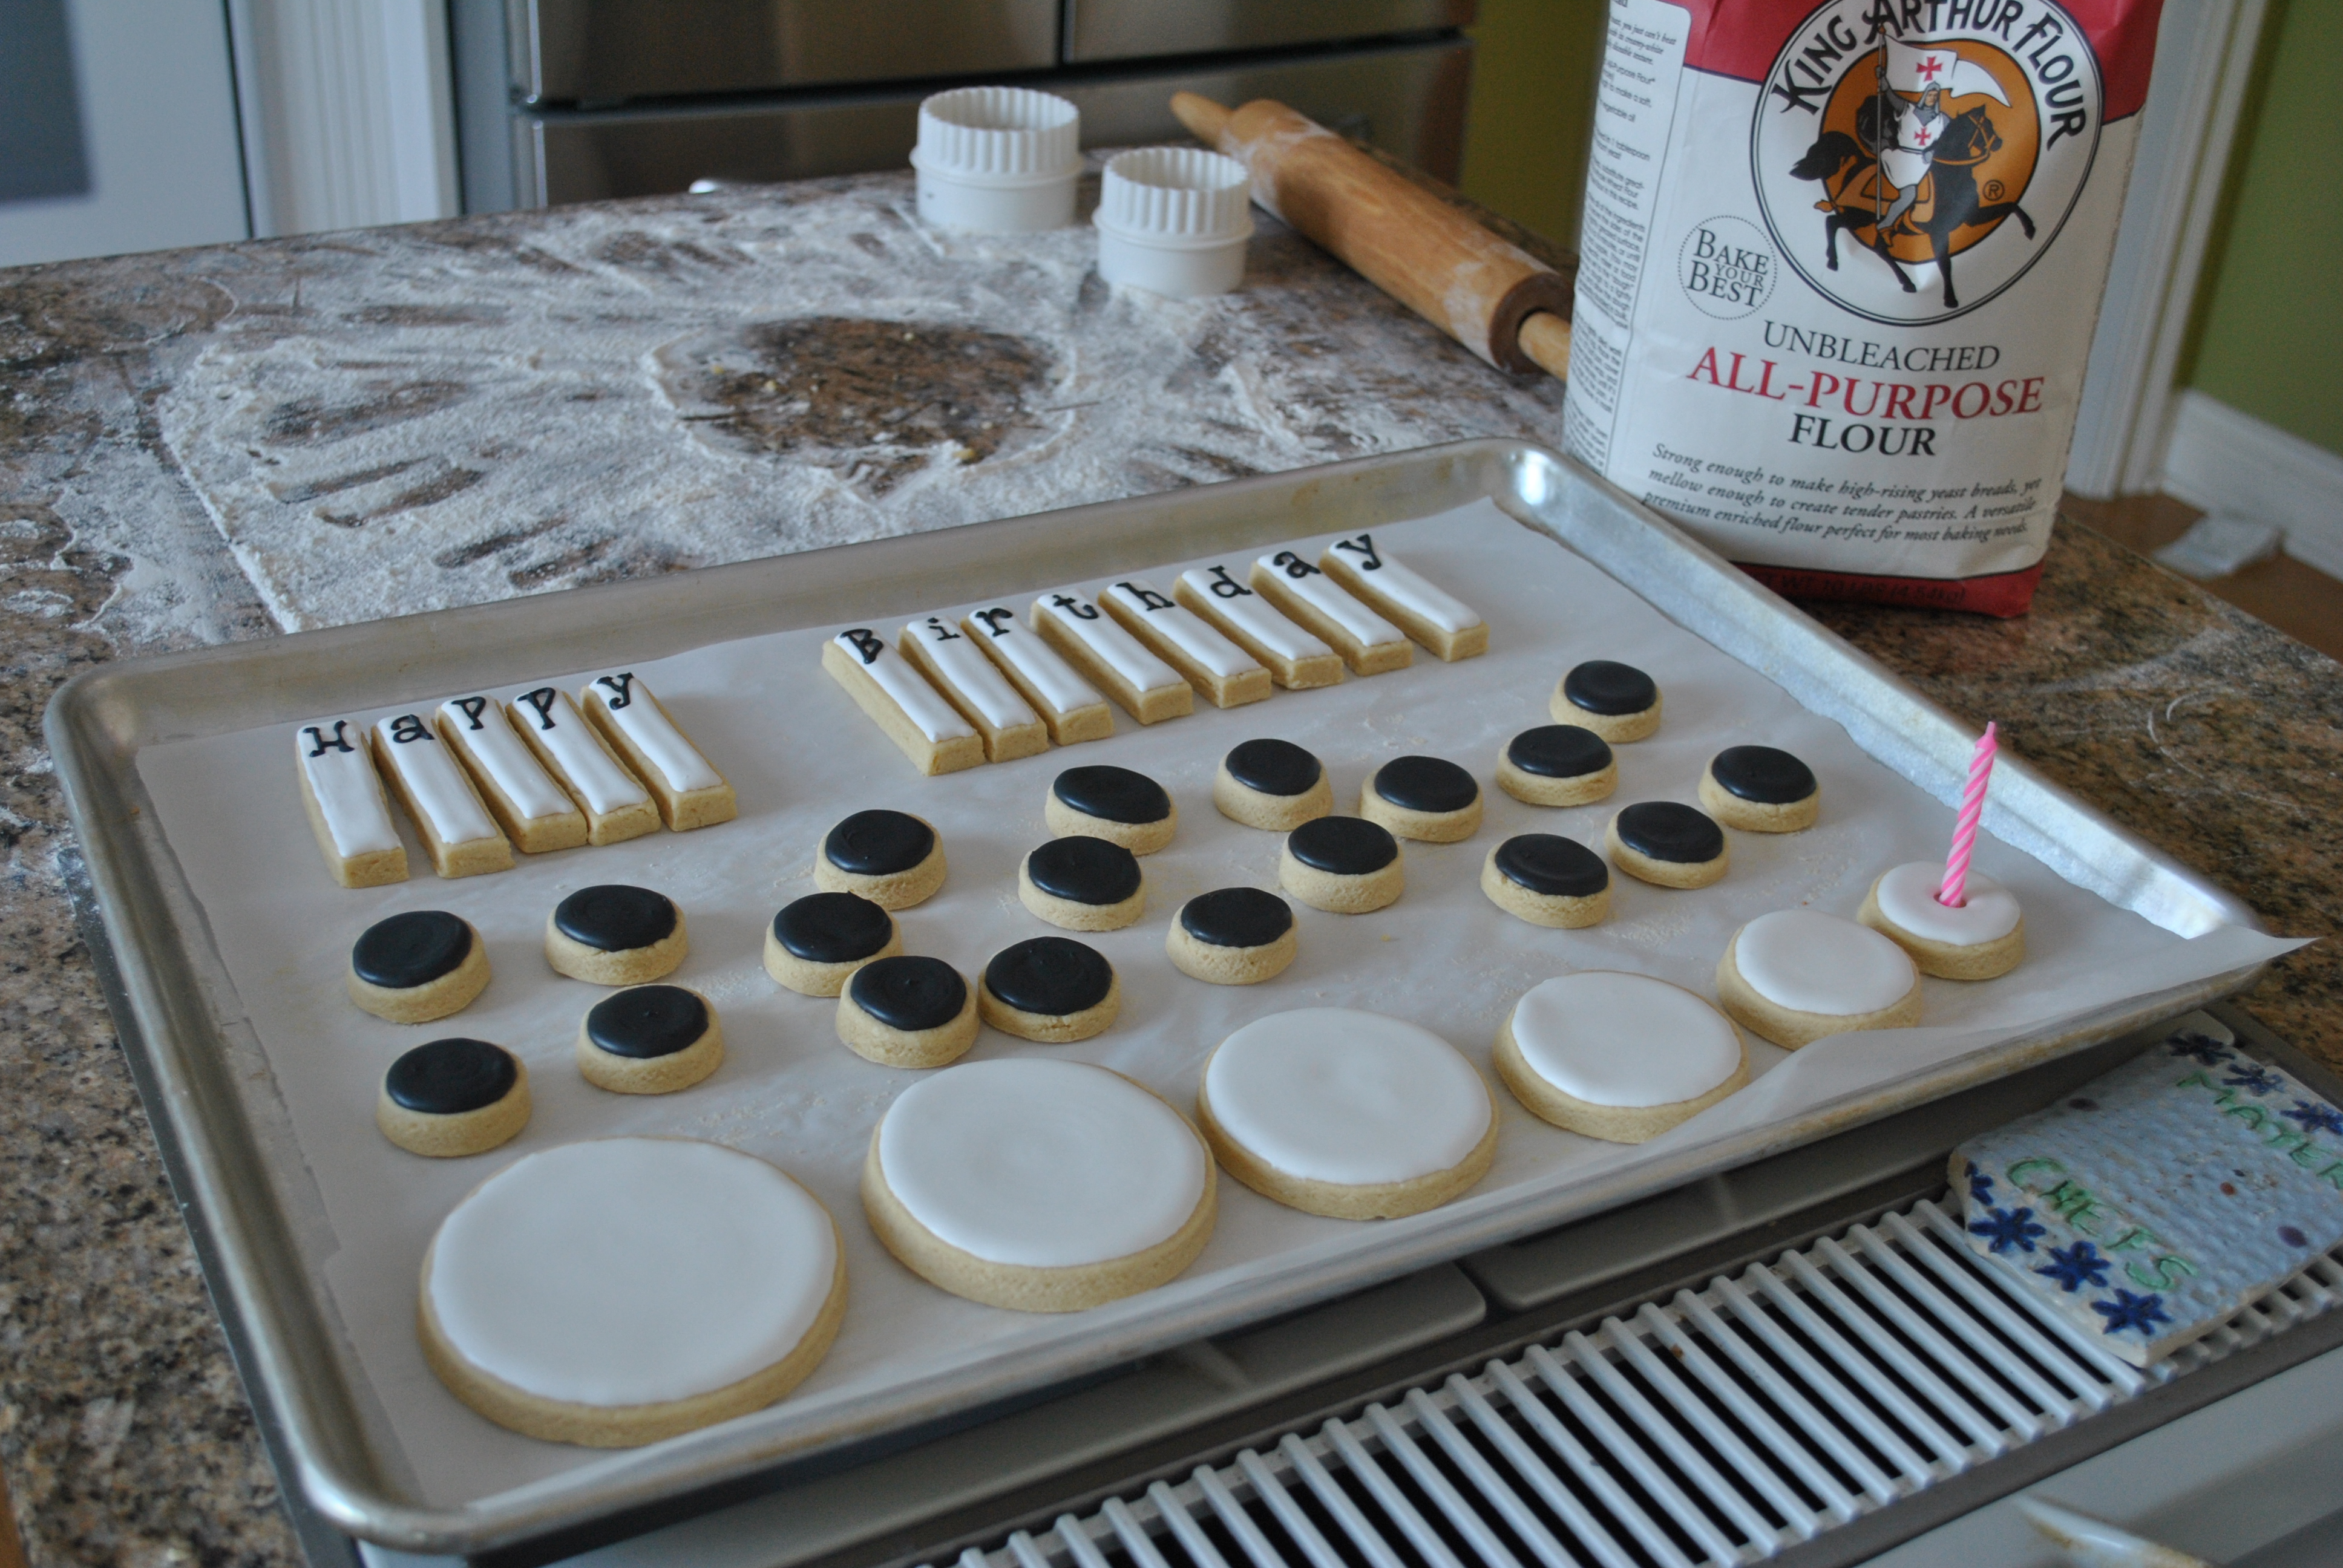
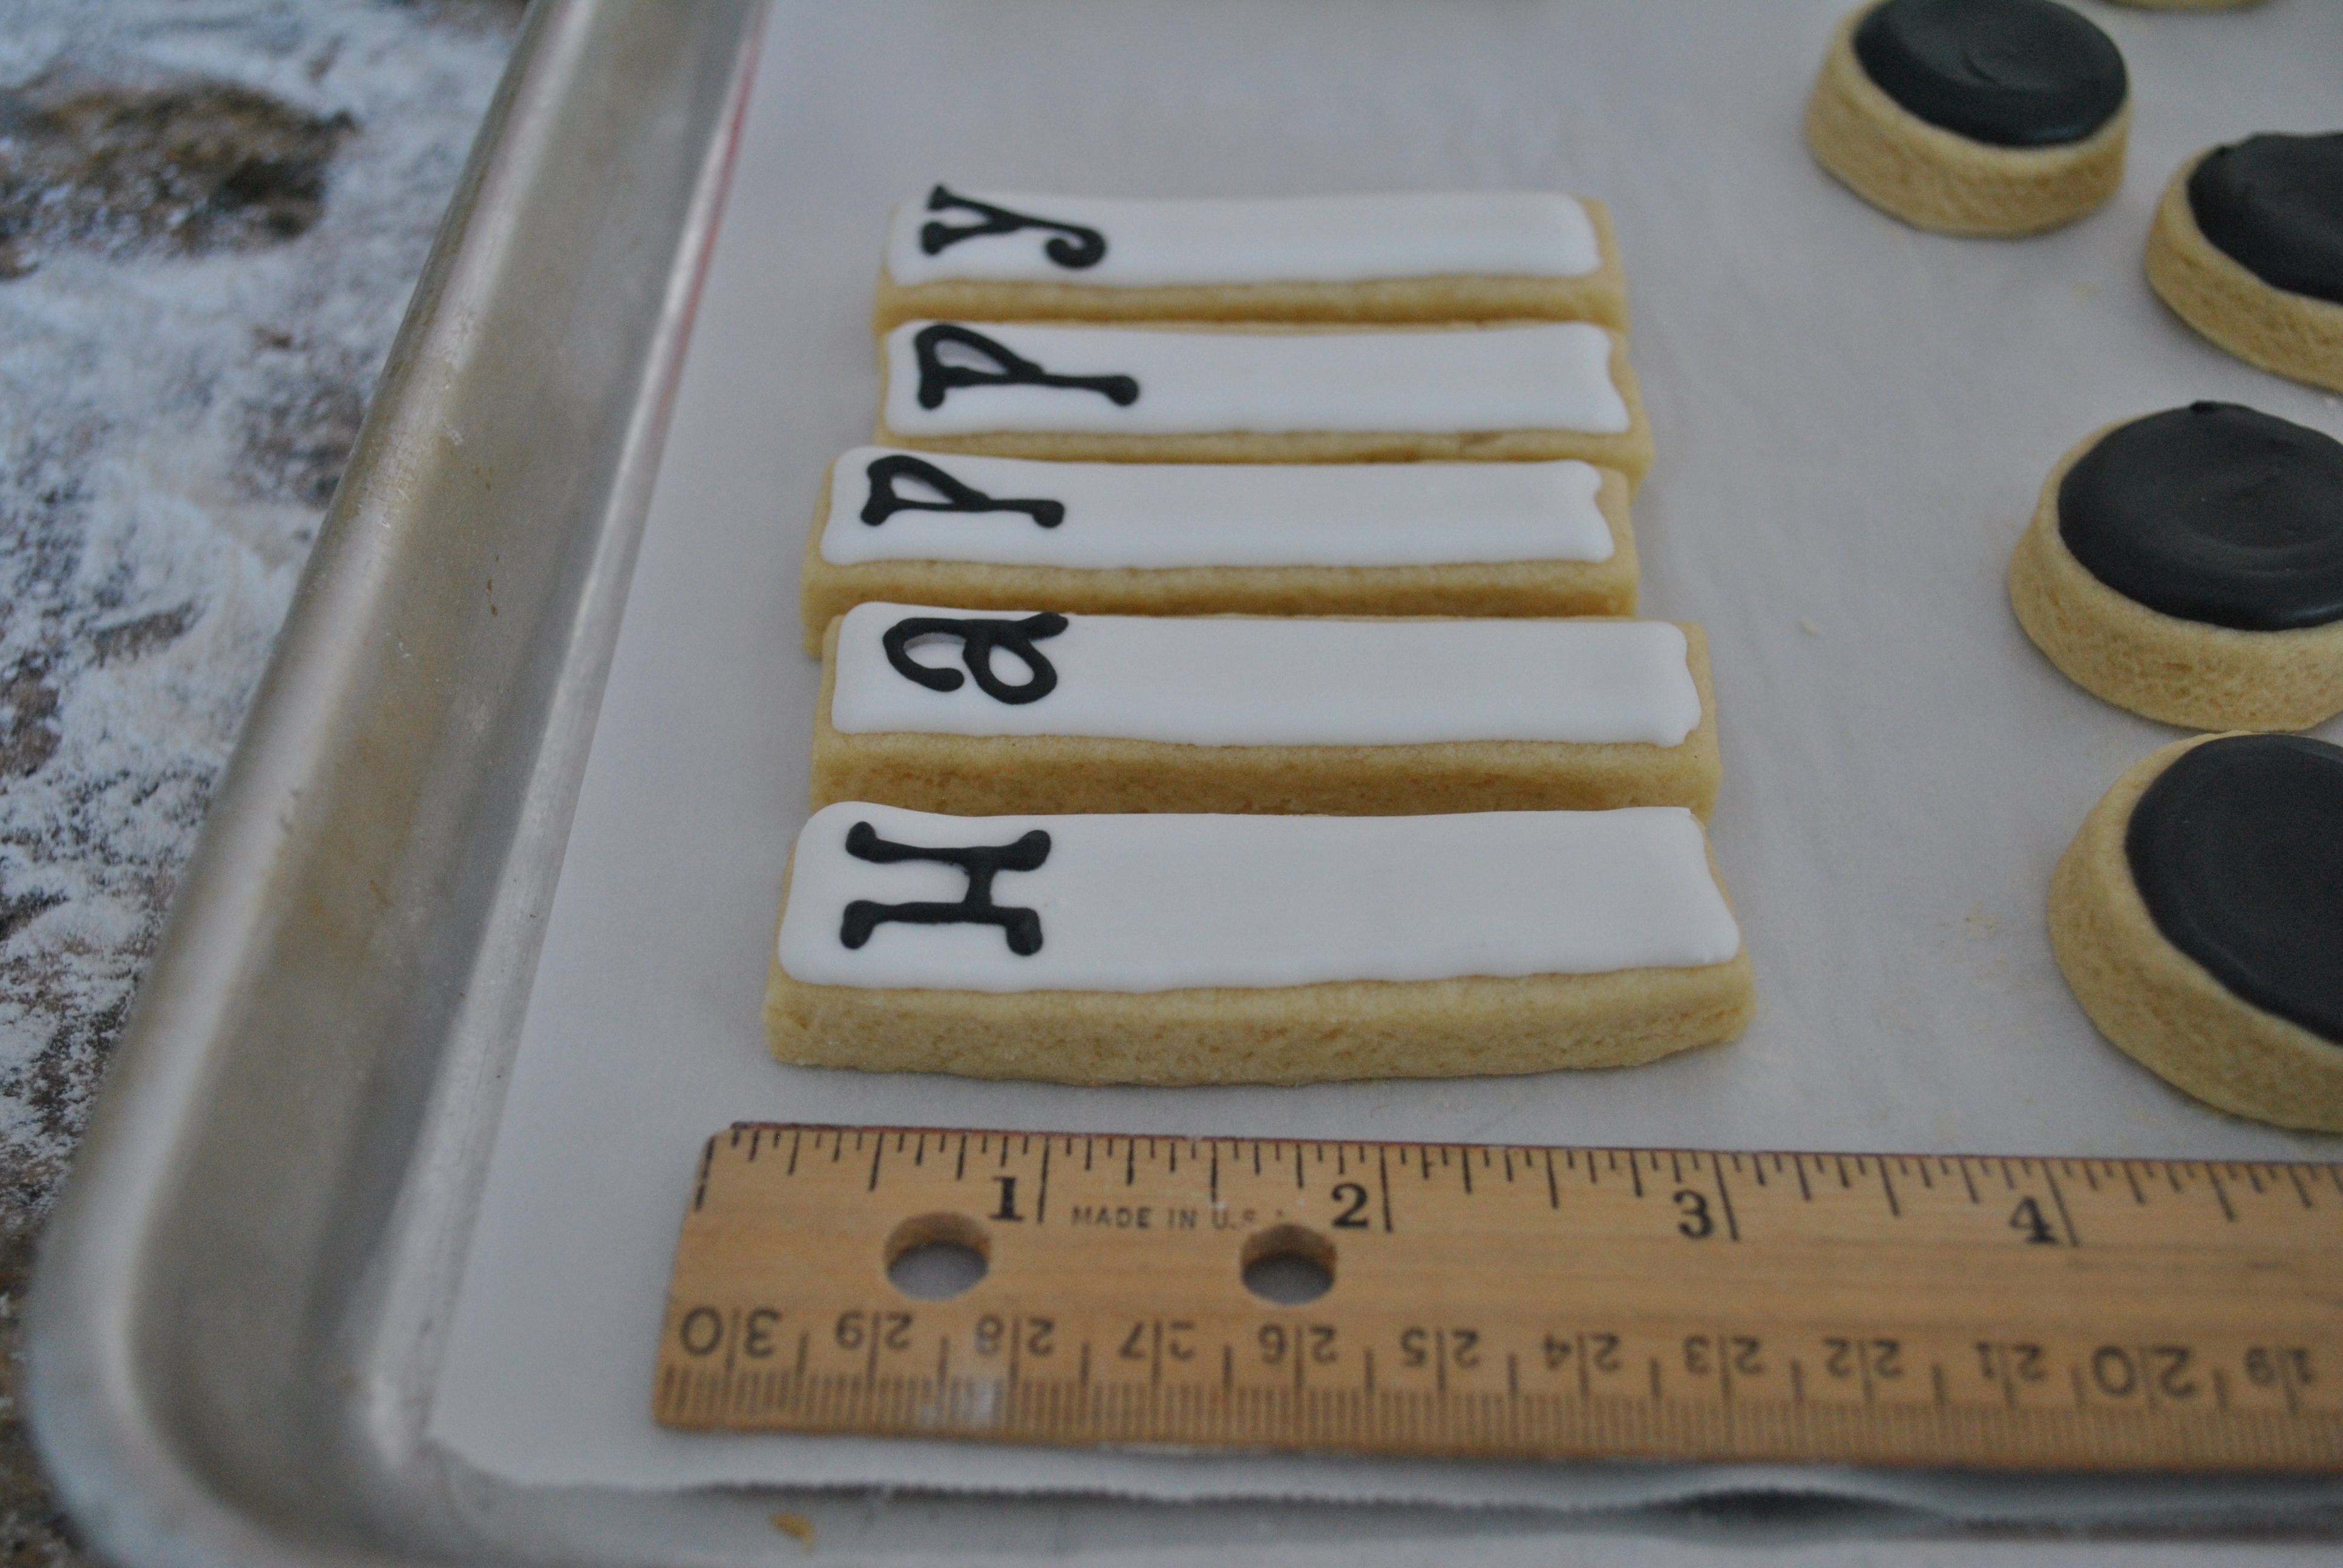
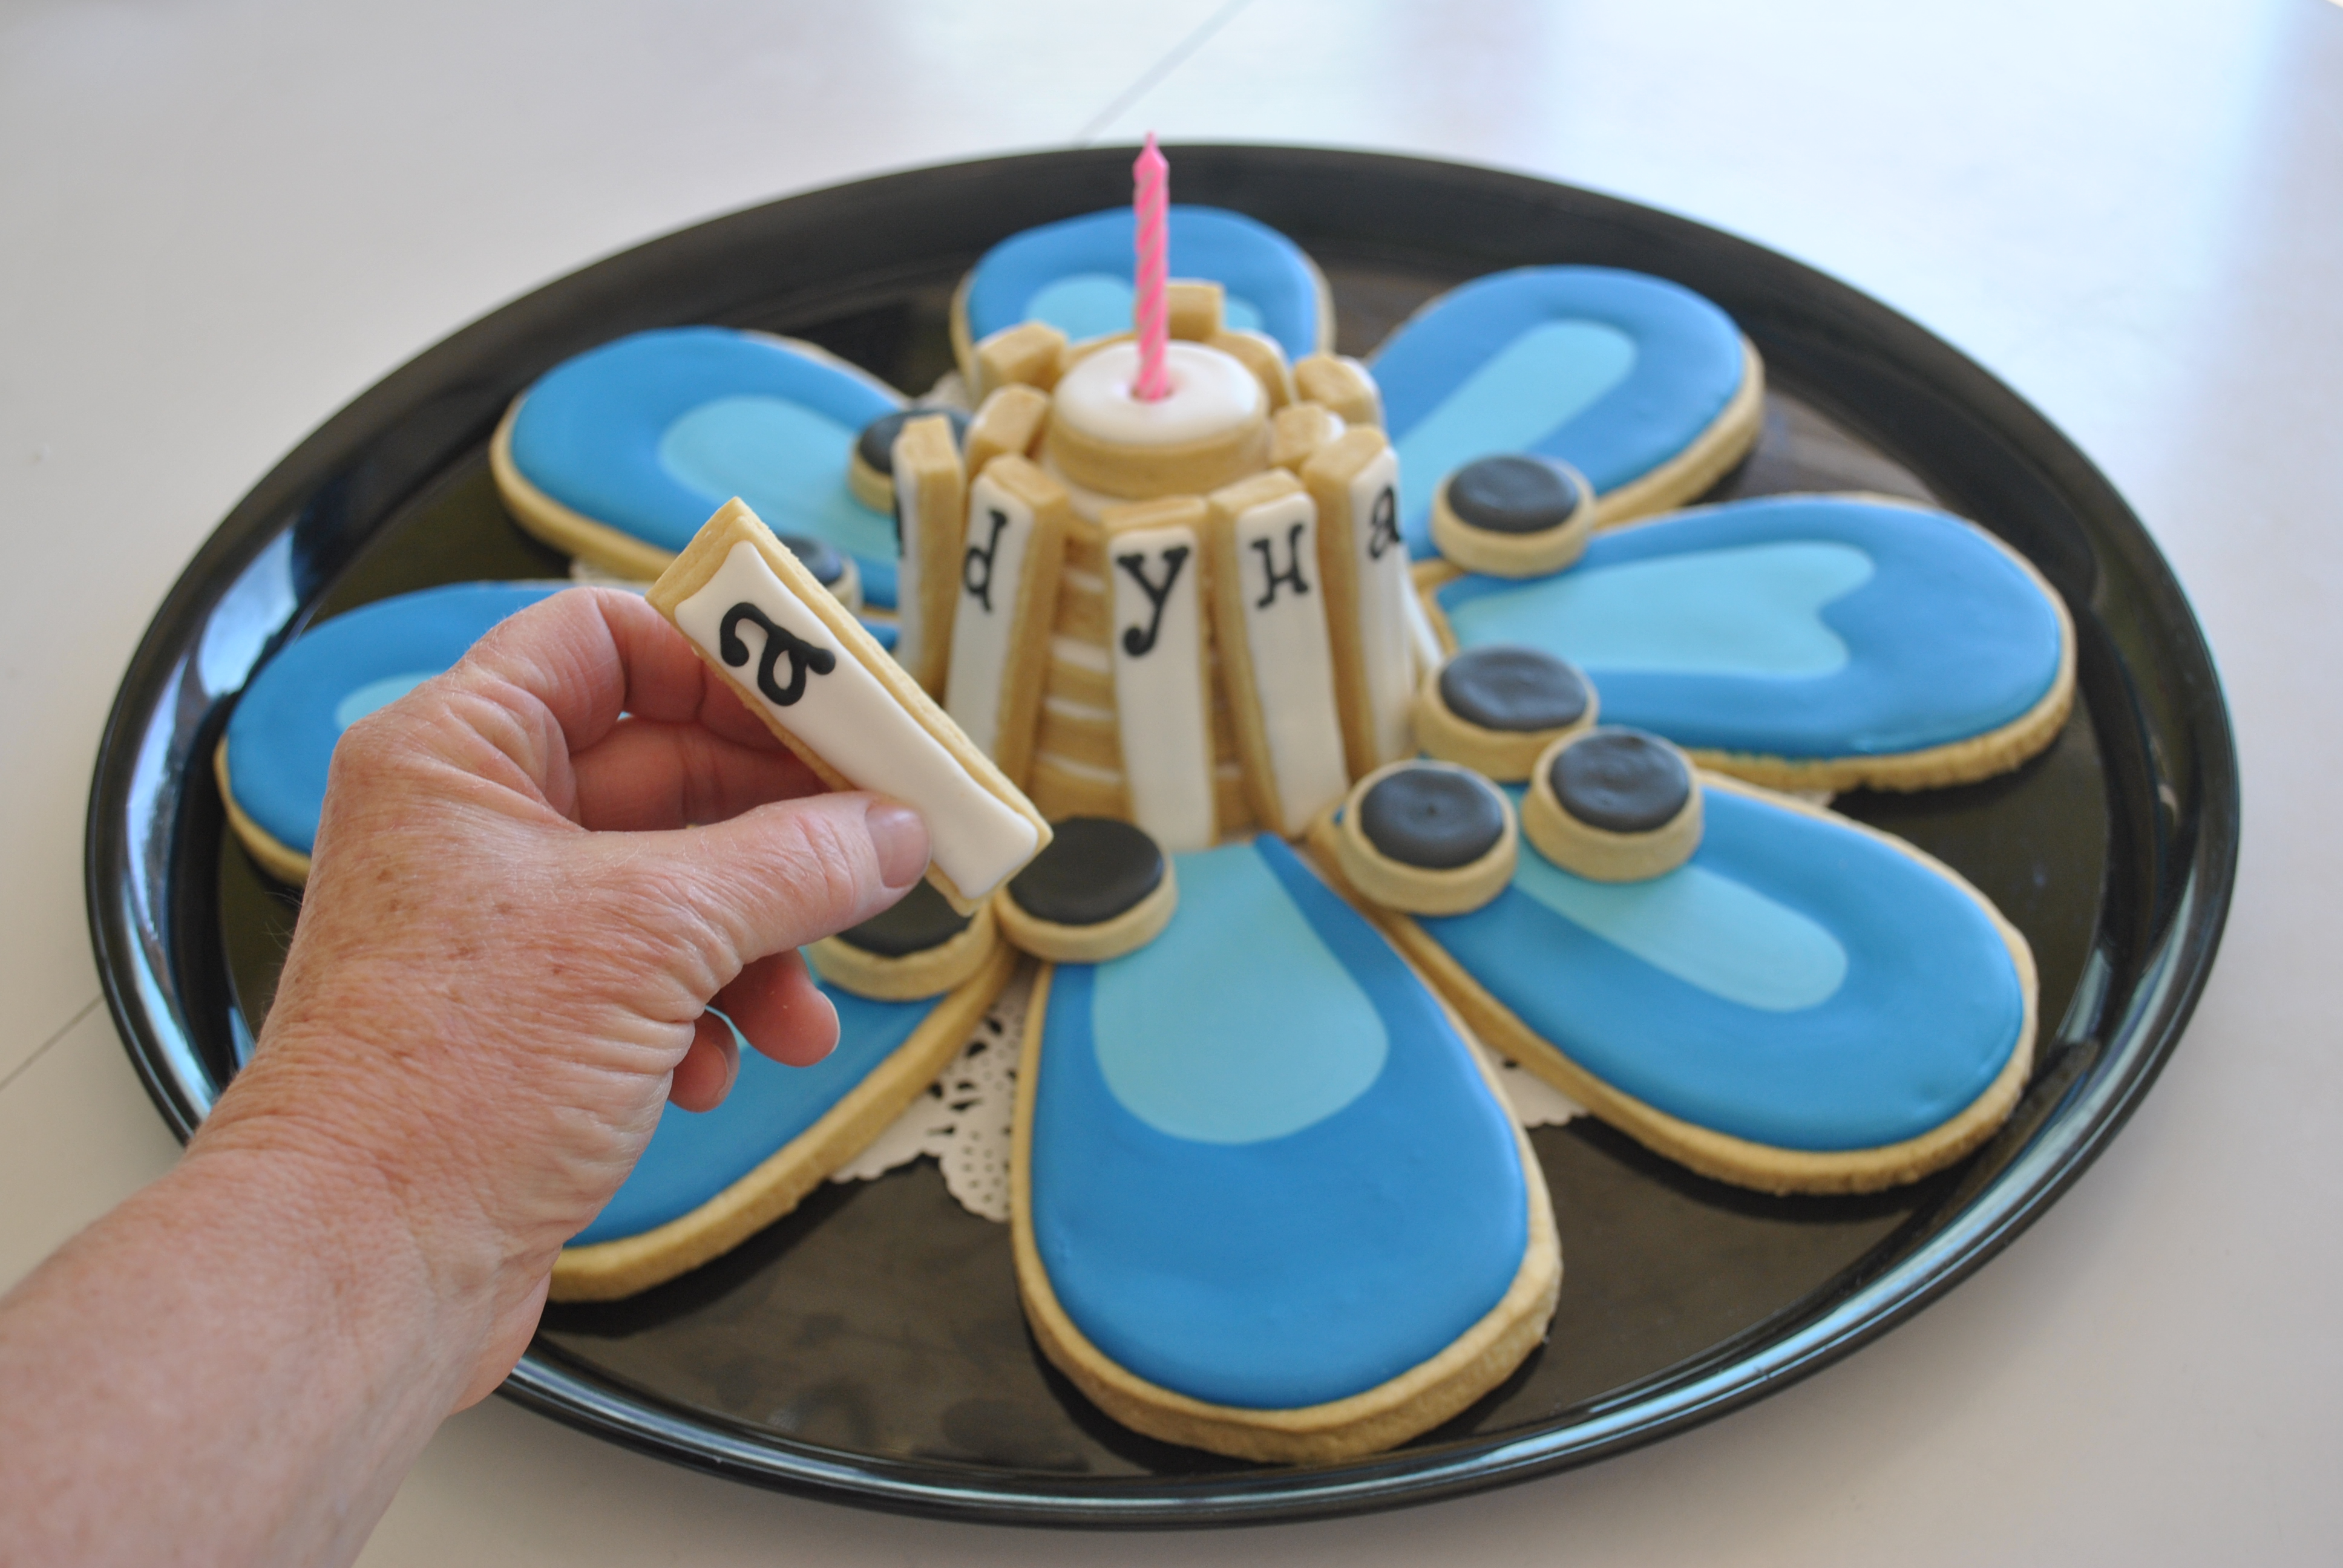
I try to come up with new and fun ways to approach birthday party cookies.  What better time to put a cookie on a stick (well, heavy paper straw to be exact) than when asked to coordinate with a Lacrosse theme?  I created a “field” by cutting out styrofoam sheets to fit in a cake box, covering them with simple construction paper (totally not to scale but I was limited by box size).  I then baked the 20 stick heads, based coated the first side white, and let dry overnight; I used the double sided Rainbow Dust pens to ink in the outline and associated netting.

DSC_0128

okay- it’s winter.  Everything starts looking like snowflakes.

I flipped the heads over and used thick royal icing to set the straw on the back side of the cookie.

DSC_0137

After an hour or so, I coated the second side with 10 second icing. I toyed around with inking in the nets on the back  as well but 1) decided it looked cleaner without, and 2) decided these were labor intensive enough already. I also made a net cookie for either end of the field.

DSC_0142 DSC_0148

Top view of the field; lower left corner shows the cuts I made to prep for inserting the straw.

DSC_0154


Take home favors were also requested- jerseys out of a chocolate cookie.  Just a simple hand painted and stamped jersey with a few penned in accents.

DSC_0116 DSC_0115


Vera Bradley Birthday Party

Midnight Blues is the pattern.  I definitely saw midnight and a LOT of blue when decorating the cookies for this birthday party…

Requested were 12 favors that had the pattern on a purse plus one large cookie cake.  I took the daisy within the pattern and made the “cake” such that guests could pull a large petal or a small cookie, depending on their appetite.DSC_0695

I didn’t have a cookie cutter to match so I sized a 4×4″ purse on card stock and hand cut the shape.

DSC_0553

The base layer was a very saturated black.blue (half and half Americolor royal blue and black, required lots of gel to achieve the color).

DSC_0557

After drying the base overnight, I began applying the flower pattern.  Yellow= Lemon yellow with a drop or two of egg yellow.  Blue= Royal blue: just a little bit for the light blue and several drops more for the darker.  Green= Leaf green. Orange= orange. Purple= Violet with a couple drops of regal purple.  Americolor gels all.  I wish I could tell you exactly how many drops but 1) I mixed without counting & 2) it does depend on how much icing you are tinting.  I had sketched a pattern first to balance the colors on the cookie and it mostly worked.  That is also why I always, always make an extra cookie or two for my “oops.”

DSC_0564 DSC_0562 DSC_0567 DSC_0568 DSC_0653 DSC_0659

Here’s how they turned out against a print of the original design.

DSC_0672

Next I moved on to the cookie cake.  Sorry but it required a little math.  I measured the serving platter diameter and from there figured out how wide top and bottom each petal needed to be, considering that I would have a 4″ circular center and 8 petals, etc.  (If you really want to know how to calculate the measurements, comment back and I will tell.  A little boring.)  Made a hole with/for a candle in top cookie of stack.  Did this BEFORE I baked the cookies.

DSC_0665 DSC_0668 DSC_0673

I cut out a cookie stack (using cutter set where each cookie gets slightly smaller) for the center to support the happy birthday sticks.  Unfortunately, it was late at night and I mistakenly thought I needed 12 sticks.  Um, “happy birthday” has 13 places, even without a space.  Duh.  So that’s why the sticks weren’t flat around the stack.  My bad.  Just do the math better than me and it will all fit.   These sticks happened to be 3″x .75″ each.

DSC_0669 DSC_0680

One more look at the entire production!

DSC_0689